Renovation acceptance: Pre-inspection preparation and psychological mindset
Renovation acceptance is not just about checking the surface; it is also about safeguarding the owner's long-term residential safety and asset value. Before paying the final instalment of the renovation fee, owners should remain calm and should not rush to sign off due to the pressure to move in, otherwise, if water leaks or structural issues are discovered later, the cost of subsequent pursuit is extremely high.
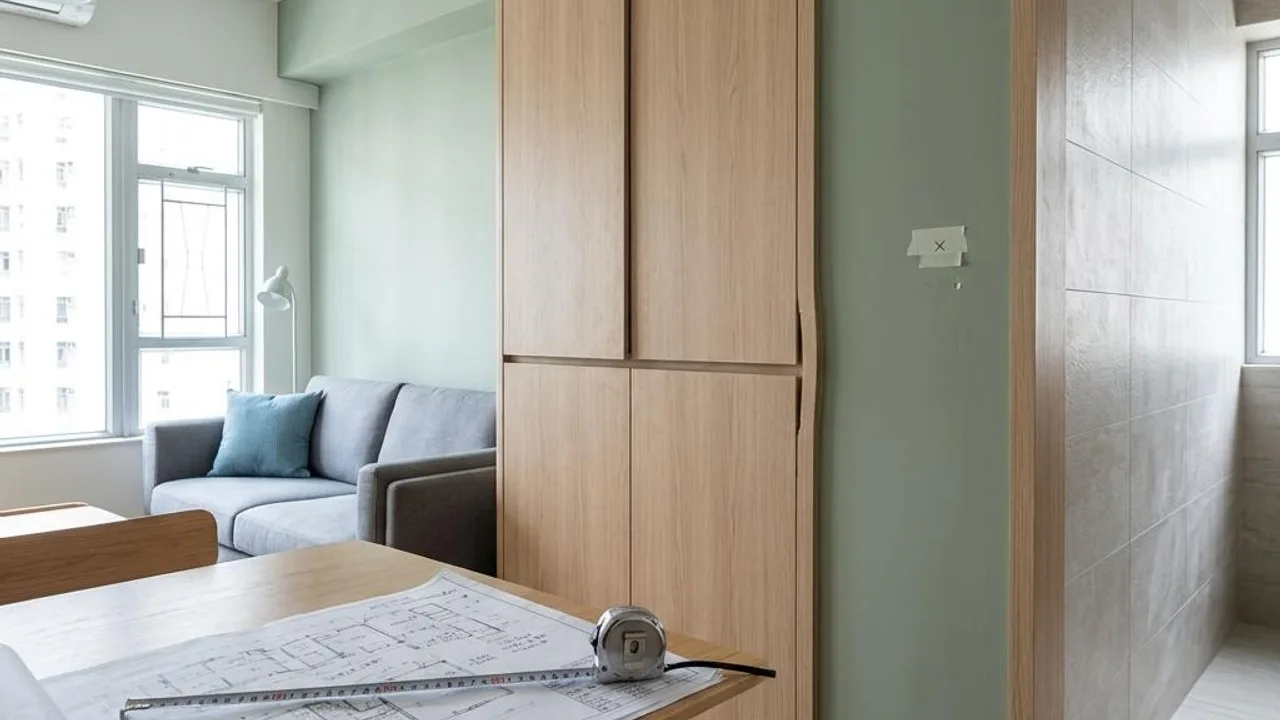
It is recommended that owners prepare an inspection rod, a high-intensity flashlight, a tape measure, and adhesive labels before the acceptance. Even if not a professional, one can use a standardised process for inspection, reducing the risk of future disputes over responsibility with the renovation company.
- Prepare a full set of inspection tools and colour-coded adhesive labels
- Verify renovation blueprints and contract specifications
- Reserve enough time for inspection without being influenced by handover pressure
Safety inspections and leak testing for plumbing and electrical systems
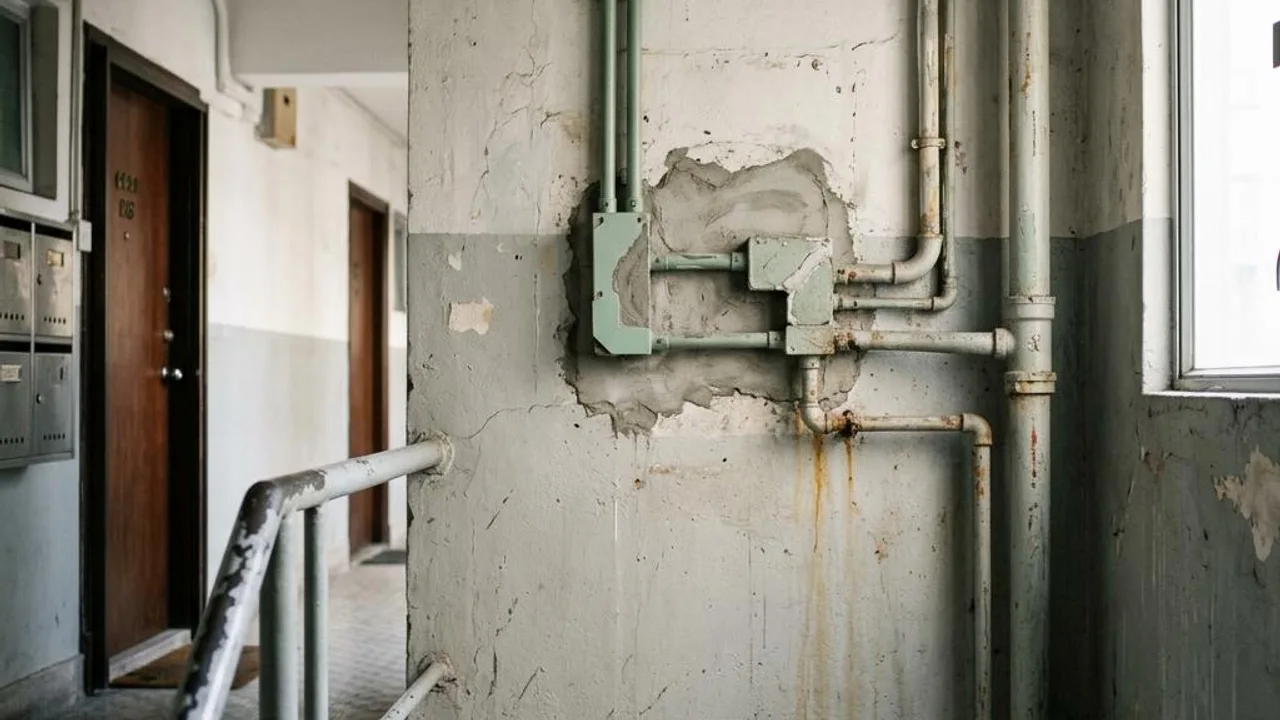
Water leakage and electrical issues directly impact home safety and must be treated rigorously. For the drainage system, it is recommended to fill the bathtub and washbasin with water, then release it all at once to observe whether there are leaks at pipe joints, and check if the drainage speed is hindered by construction waste such as cement or sand.
Regarding electricity, owners can use a socket tester to check the power status of each outlet and whether the earth wire connection is correct. If the consumer unit trips or there is an odd smell, stop testing immediately and request a registered electrical contractor to inspect, ensuring compliance with relevant norms in the Home Electrical Safety Handbook.
- Fill shower cubicle and bathtub with water to test for static leakage
- Check floor drainage speed and pipe clearance
- Use a socket tester to check earth connection and power quality
- Test if consumer unit switches and load distribution are normal
Key inspection points for masonry and painting works
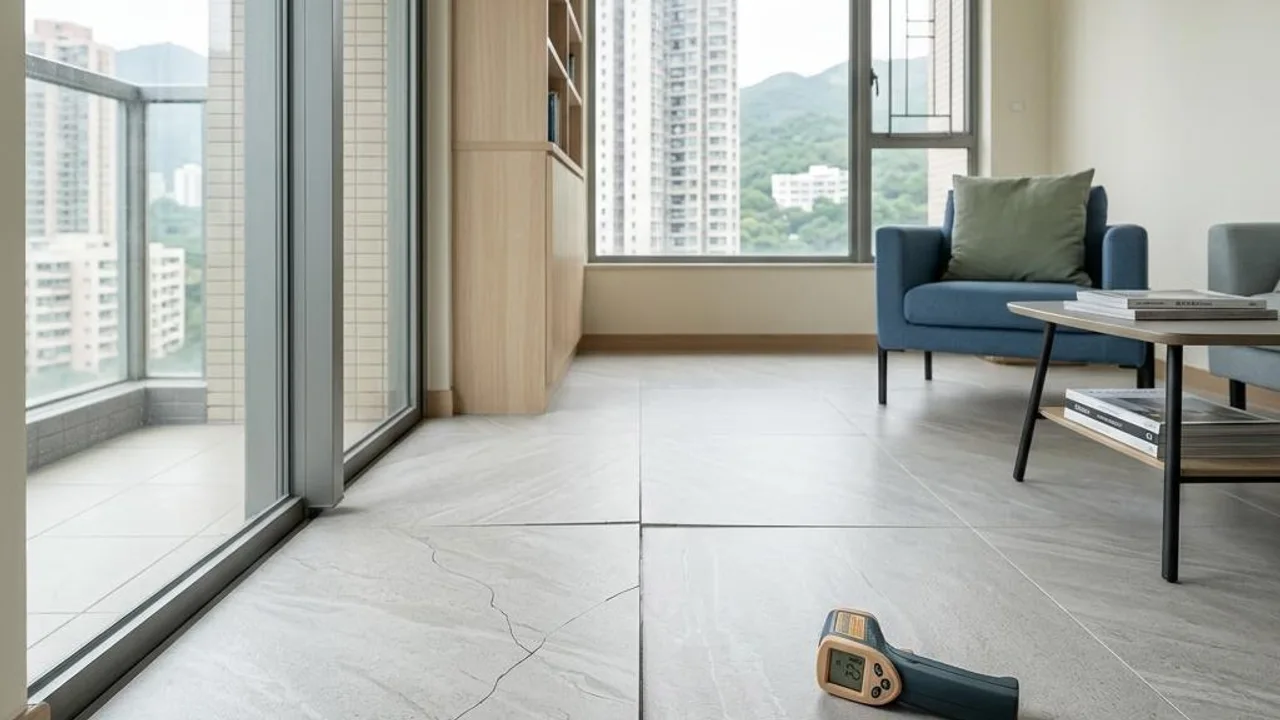
The quality of masonry is directly reflected in the bond of the tiles. Owners can use a specialised inspection rod or a coin to tap the four corners and centre of floor and wall tiles. If a hollow echo is emitted, it indicates a 'hollow drum' phenomenon, which may lead to tile cracking later due to thermal expansion and contraction.
Paint inspection should be conducted after turning off the lights; using a high-intensity flashlight to shine at an angle against the wall will clearly reveal wavy patterns, sweep marks, or paint drips caused by uneven plastering. These types of surface defects are difficult to detect in daily light, so ensure every uneven spot is carefully recorded during acceptance.
- Use the tapping method to check for floor and wall tile hollows
- Mark hollow locations and request that the master worker re-lay them
- Use a high-intensity flashlight for side-on illumination inspection of walls
- Record details such as uneven plastering and paint run marks
Acceptance details for custom-made carpentry furniture
Custom-made furniture is expensive, so during acceptance, focus on testing the durability of hardware accessories. It is recommended to repeatedly open and close cabinet doors and drawers to check for strange noises from hinges and whether the hydraulic dampening function is smooth, ensuring the doors do not pop open automatically or that the dampening has not failed.
Besides operational smoothness, also touch the edges of wooden cabinets, the bottom of shelves, and blind spots. Qualified furniture should have proper edge banding; if exposed screws or sharp edges with wood splinters are found, these are handicraft defects, and you should request grinding or repairs.
- Repeatedly test the smoothness of cabinet door hinges and drawer operation
- Verify the effective operation of hydraulic dampening accessories
- Check shelf edge banding and splinter protection treatment
- Confirm whether the finishing screw positions are neat and concealed
The application value of professional property inspection equipment
Although owners can perform basic DIY checks, the experience and high-tech equipment possessed by professional property inspectors are difficult for new homeowners to achieve. Professional equipment like infrared thermal imaging cameras and high-definition endoscopes can visualise the location of water pipes hidden inside walls and the sources of leaks, preventing water damage from eroding the home.
Entrusting a professional team can yield an acceptance report with legal reference value, which can provide objective grounds for rectification communication between the owner and the renovation company, reducing dispute time and ensuring all rectification items are implemented according to engineering standards.
- Use infrared thermal imaging to detect hidden moisture inside walls
- Check the condition of hidden pipes with a professional high-definition endoscope
- Write a professional rectification report to safeguard owner interests
- Provide opinions on engineering norms to address renovation disputes
FAQs
How should I handle hollow floor tiles discovered during acceptance?
You should immediately use adhesive labels to mark the location and notify the renovation manager. The hollow area may cause the tile surface to crack due to thermal expansion and contraction; the owner has the right to request that the master worker re-lay or repair it.
What are the risks of DIY inspection of the electrical system?
Owners should only use simple testers to check sockets. If you notice tripping, burnt smells, or exposed wires, you must never disassemble them yourself and must hire a Registered Electrical Contractor to troubleshoot.
Why is it recommended to use a high-intensity flashlight during renovation acceptance?
When a high-intensity flashlight is shone at an angle against a wall, it maximises the visibility of uneven plastering, paint runs, and micro-cracks. These defects are easily overlooked under normal lighting, but will have nowhere to hide under side illumination.