Prevention Strategies for Decoration Completion Inspection
When the decorator is ready for completion, homeowners should avoid paying the final balance before confirming quality. Decoration flaws are often hidden beneath the surface; once handover is signed, subsequent problems such as seepage or short circuits will lead to the homeowner bearing expensive repair costs themselves.
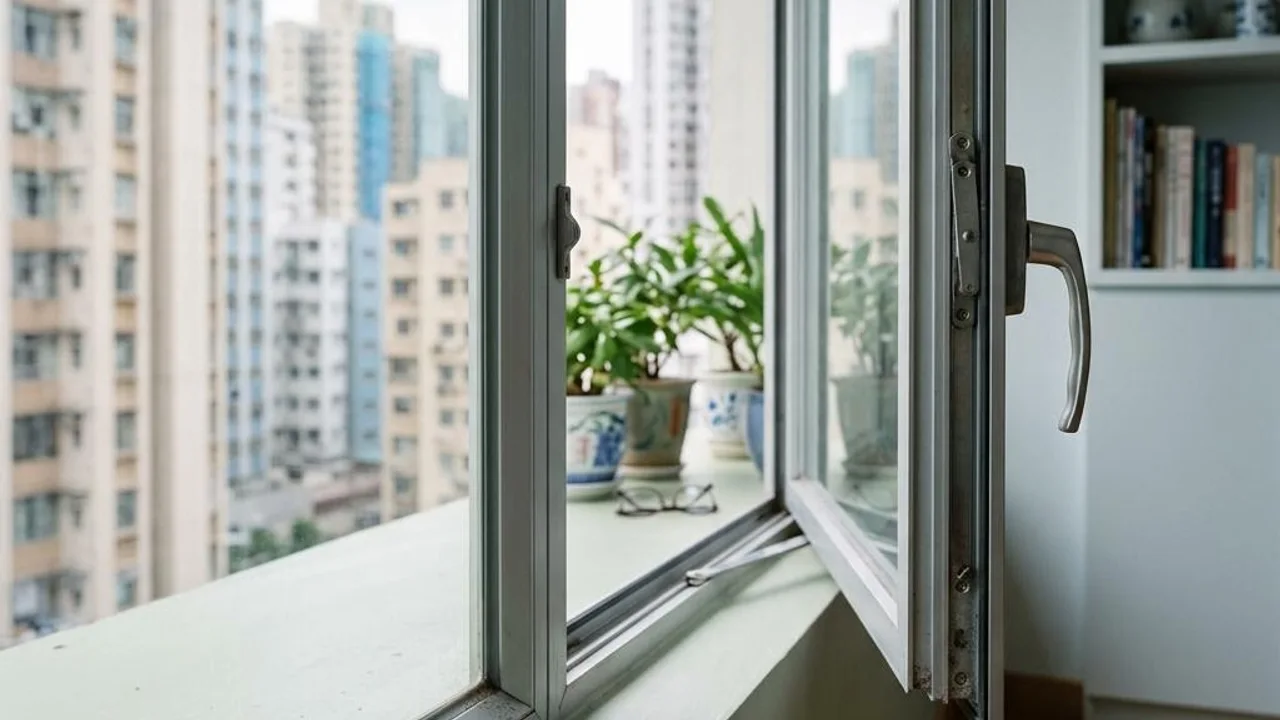
During inspection, homeowners should use a high-powered torch and auxiliary tools to verify construction details to check surface conditions. Such inspections cannot guarantee structural, electrical, or gas safety, the condition of concealed pipes, or remaining lifespan. If a thermal imager is used, it only shows surface temperature distribution, not a definitive conclusion on leak causes or structural problems. No inspection tool can guarantee the discovery of all concealed defects. If the Mandatory Window Inspection Scheme is involved, it must be performed by a person qualified and registered with the Buildings Department; this is an independent procedure, not part of general inspection. For issues involving professional domains or concealed structures, consult a qualified professional.
Do not attempt to carry out electrical testing yourself, dismantle fixed installations, adjust water pressure valves, or climb onto roofs or external windows. It is recommended to record observations and seek follow-up from professionals when necessary.
- Avoid paying the final balance before defect rectification is completed
- Inspection should extend from the surface to concealed locations
- Systematically record all decoration defects
- Seek assessment from qualified professionals when necessary
Waterproofing: Shower tray water testing and floor drainage
Waterproofing performance is the most critical part of decoration work; normal operation of surface taps does not mean that concealed pipes and waterproofing layers are safe. Bathroom seepage can lead to long-term repair disputes or even affect units downstairs, so rigorous water testing must be conducted.
When performing a water storage test in a shower tray, ensure the drain is plugged, fill with water for approximately 12 to 24 hours, and observe if the water level drops significantly. At the same time, check the drainage gradient design of the bathroom and kitchen floors; if standing water is found after pouring, it means the masonry work may not meet standards, which easily leads to long-term dampness and mould growth.
- Conduct a shower tray water storage test for at least 12 to 24 hours
- Observe water level changes and check for signs of leakage
- Test if the drainage slope of the kitchen and bathroom floor is smooth
- Ensure there is no standing water to prevent mould growth
Electrical Safety: Socket testing and label verification
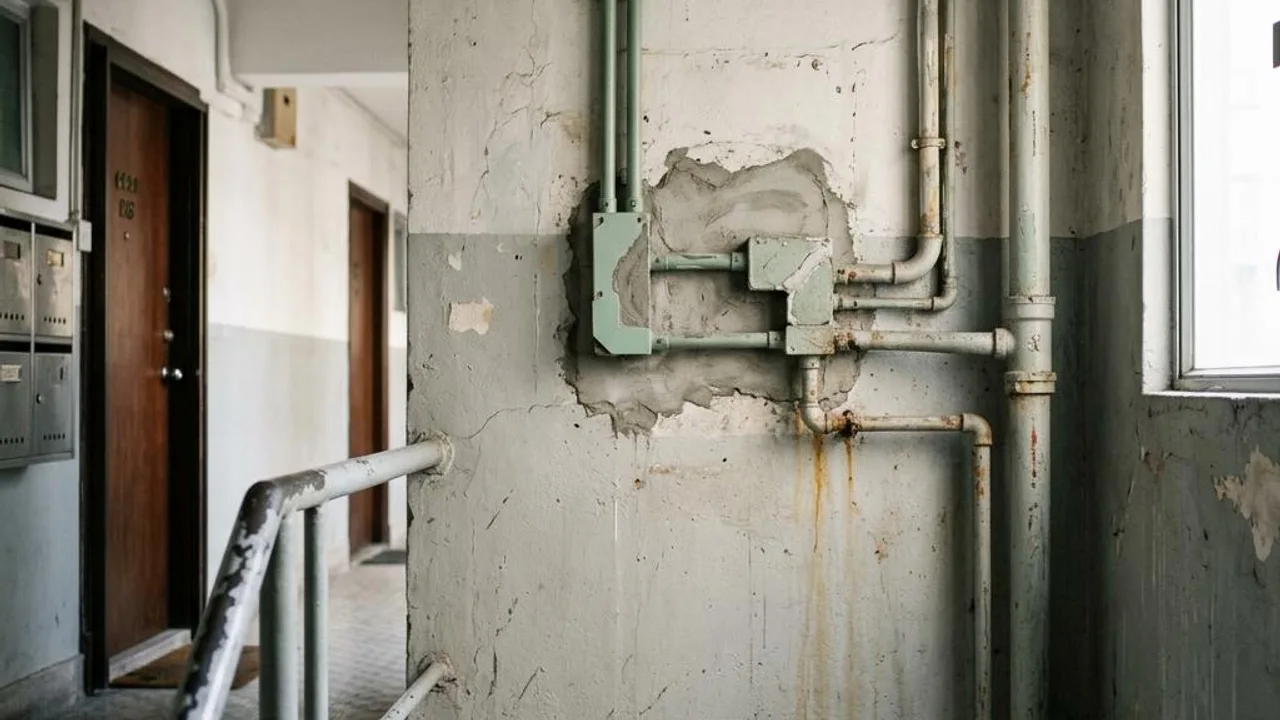
Electrical installations are difficult to check once sealed inside walls. If the master builder cuts corners, it will cause fire or electric shock hazards. Homeowners should confirm that all electrical work was performed by a Registered Electrical Contractor (REC) and check if the relevant Work Completion Certificate (WR1) has been issued.
When conducting tests, use a socket tester to check the correctness of the Earth, Live, and Neutral wire connections. At the same time, the labels inside the distribution board must be verified against the actual circuits, such as ensuring relevant power switches correctly turn off the corresponding appliances. Incorrect labels not only increase daily maintenance difficulty but also pose serious safety risks.
- Check socket polarity and earthing functionality
- Verify the accuracy of each circuit label in the distribution board
- Confirm high-power appliances have independent power supplies
- Ensure power strips are not shared to avoid overload
Wall and Tile Inspection: Detailed flaws and quality
Wall flaws like wave patterns and pinholes may be difficult to perceive in normal light. Homeowners should switch off indoor lights, then use a high-powered torch to shine parallel to the wall to check if plastering and paint are smooth and uniform; any unevenness or brush marks will appear in the shadows.
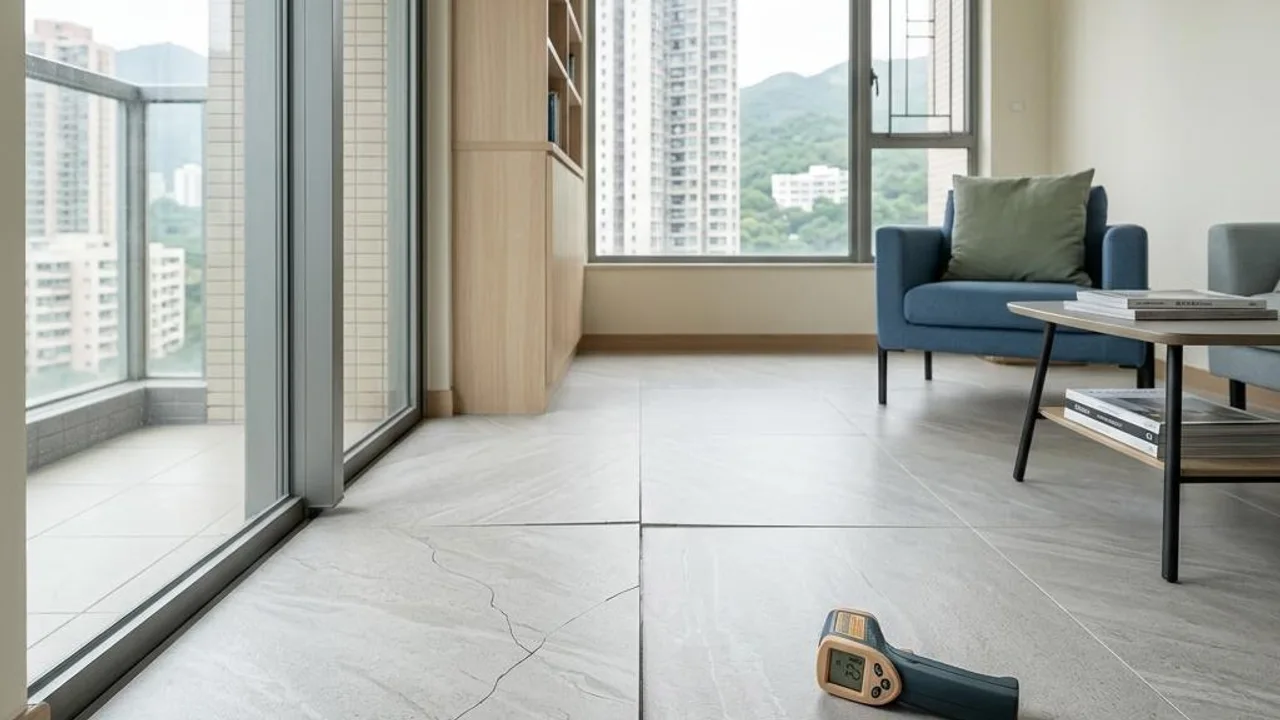
Tile construction is also a focus of inspection. Use an inspection rod or a coin to gently tap the four corners and the centre of the tile surface; if a crisp hollow sound is emitted, it means the base cement layer is not fully filled, posing a detachment risk. If such hollow problems are not dealt with, long-term impact from thermal expansion and contraction can easily lead to tiles bursting or safety accidents.
- Use side-lighting with a high-powered torch to check wall flatness
- Tap to check for hollow phenomena in tiles
- Note whether tile edge gaps are aligned evenly
- Confirm that there are no obvious paint brush marks or cracks on the wall
Furniture Construction: Edge banding details and hardware performance
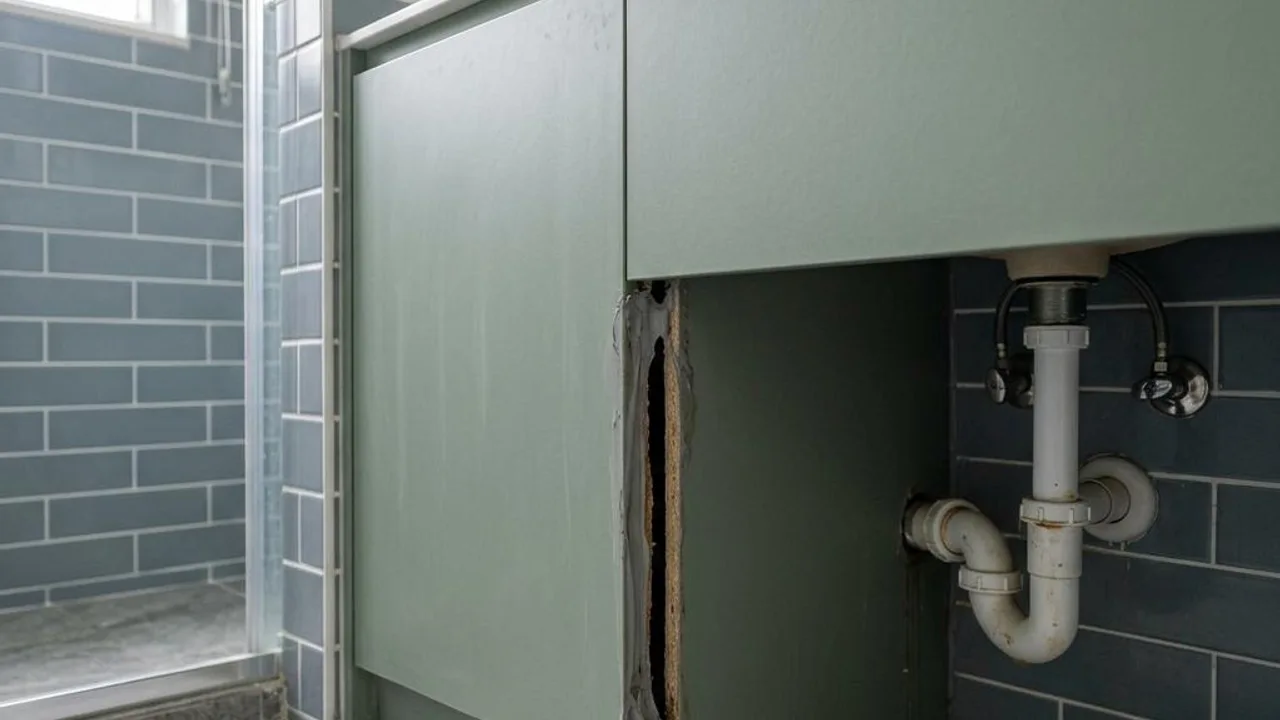
Concealed locations in custom furniture are easily overlooked, especially behind shelves or at the base of cabinets. If these positions are not properly edge-banded and the wood core cuts are left exposed, it could cause unnecessary odours. During inspection, reach out to touch the back of shelves to ensure the structure is complete and surface treatment is in place.
Hardware accessories are the key to furniture durability. Test the opening and closing of all cabinet doors and drawers to ensure hardware has no abnormal noise, gaps are even, and the soft-close system operates smoothly. These details reflect the craftsmanship level of the decoration company; if problems are found, the master builder should be requested to adjust or repair them.
- Check if furniture shelf edges are fully banded
- Test door hinges and cabinet hardware for any abnormal noise.
- Check if the width of the door gaps is consistent and even.
- Confirm that the hydraulic soft-close system is functioning properly.
The importance of a professional OPO Inspection team.
If a homeowner lacks background knowledge in renovation works, hiring a professional OPO Inspection team is the best way to safeguard their asset. Professional property inspectors possess relevant engineering backgrounds and can use professional equipment to detect hidden plumbing and electrical issues. They assist homeowners in communicating defect rectification requirements to renovation companies through authoritative reports.
An OPO Inspection team can help homeowners understand the actual quality of the property before signing off. Through objective data and technical analysis, they ensure that renovation works meet basic safety requirements and design expectations, laying a solid foundation for a long-term living environment.
- Professionals provide objective engineering reports.
- Assist in technical negotiations with renovation contractors.
- Provide accurate detection of hidden defects.
- Give homeowners peace of mind during the handover process.
FAQs
If slight hollow tiles are discovered during the property inspection, is it mandatory to request immediate replacement?
Hollow tiles indicate insufficient bonding at the base layer; changes in temperature or pressure from heavy objects may cause the tile surface to crack or detach. It is recommended to record the specific location and ask the contractor for an assessment, determining the repair method based on the area and distribution of the hollow spots.
After renovation works are completed, what should be done if there is a suspected electrical circuit problem?
Do not attempt to handle electrical installations yourself. Check if a valid Work Completion Certificate (WR1) has been obtained. If safety issues are suspected, request that the renovation contractor arranges for a licensed electrical worker to perform a re-inspection and confirm compliance with legal requirements.
Does a slight drop in water level during a shower stall water retention test necessarily mean the waterproofing has failed?
A drop in water level can be caused by evaporation, absorption by the floor, or leakage. First, ensure the drain is completely sealed. If noticeable water stains or signs of leakage persist, you must commission a professional to use equipment to detect the specific leakage point.