The importance of floor drainage slope in kitchens and bathrooms
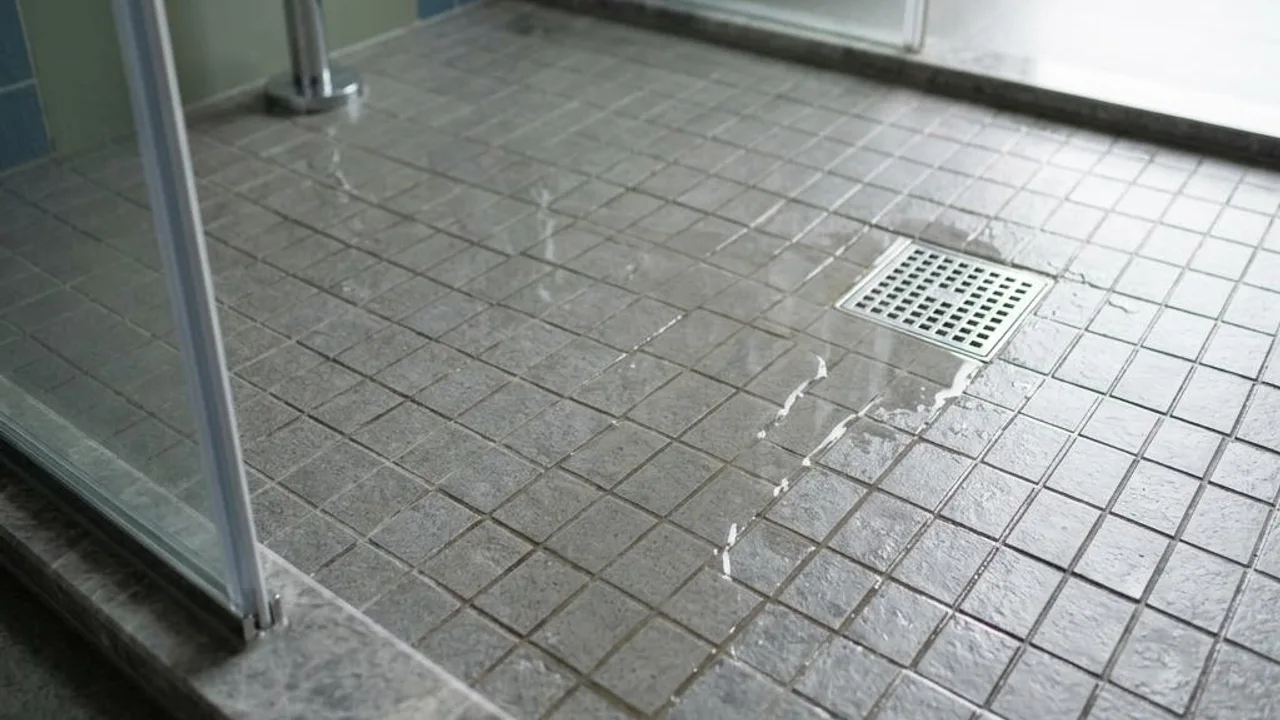
Floor drainage slope refers to the gradient designed into the floor, which is crucial for water-intensive spaces like kitchens and bathrooms. A good slope design ensures that accumulated water is quickly directed to the drain, preventing the floor from remaining damp for long periods, thereby achieving anti-mould and hygienic results.
If the slope is poorly designed during construction or floor levelness control is inaccurate, water cannot drain away smoothly. This not only causes long-term water pooling in the shower or kitchen floor, increasing the risk of slipping, but may also compromise the durability of the flooring materials, leading to potential seepage risks in the layers below.
- Drainage efficiency determines anti-mould performance
- Preventing floor seepage caused by water pooling
- Ensuring indoor environmental hygiene standards
- Reducing damage to flooring materials from long-term high-humidity environments
Simple inspection methods for home floor drainage slope
Homeowners can evaluate the effectiveness of the drainage slope during inspection using intuitive methods. The most direct method is the "pour-water test": pour water at various locations on the floor and observe if it flows quickly and directly towards the drain. If water pools in place or flows towards doorways or corners, it indicates that the slope design in that area is questionable.
In addition to the water flow test, you can use a spirit level to measure the slope of the floor tiles and observe the bubble position to assess the gradient. Furthermore, a rolling test using a ping-pong ball is also a common method. If the ping-pong ball does not roll stably towards the drain but instead slides in other directions or remains stationary, it means the floor levelness is poor or there is a reverse slope.
- Water-pouring method: Observing water flow speed and direction
- Spirit level method: Measuring physical tilt angle
- Ping-pong ball test: Checking for floor depressions or reverse slopes
- Focus on checking for water pooling around the drain
Causes of slow drainage and water pooling
When slow drainage is found, in addition to slope issues, one should check construction details. Common causes include the drain being installed higher than surrounding floor tiles, resulting in a low-lying water pooling zone where water cannot fully enter the pipe. If the floor drain is not level with surrounding tiles, it also hinders drainage efficiency.
Additionally, construction waste during renovation is a primary cause. If protection measures are insufficient, cement or construction debris falling into the drainage pipe will narrow the pipe diameter once solidified. If the U-trap of the drainage system is installed at an incorrect angle, it disrupts air pressure balance within the pipe, triggering slow drainage and backflow of odours.
- Drain installed higher than surroundings causing water pooling
- Construction waste such as cement blocking the drain
- U-trap installed incorrectly
- Insufficient flatness of floor tiles
Procedures for handling insufficient drainage slopes during inspection
When an unsatisfactory drainage slope is identified during inspection, a detailed record must be created first, using photos or videos as evidence of the pooling area. It is recommended to use chalk on-site to mark the pooled areas and provide written notification to the contractor requesting remediation. Homeowners should insist on adjusting the slope to maintain the integrity of the flooring.
Homeowners should refuse partial repairs, as randomly prying up floor tiles for re-laying easily leads to uneven levels and may even damage the original waterproofing layer. In severe cases, one should strive for the entire area to be re-laid. After completion, a flood test must be strictly carried out to ensure no traces of leakage and confirm that water can be completely drained.
- Record pooling areas with photos and markings
- Request in writing that the entire area be re-laid rather than partial repair
- Require a 48-hour flood test after re-work
- Coordinate with the unit below to check for any signs of seepage
Daily management and maintenance after moving in
If you have already moved in and it is difficult to carry out large-scale rectification work, you can first improve the situation using auxiliary tools. For example, use waterproof strips or threshold ramps to guide the water flow. At the same time, cultivate good cleaning habits; after bathing, use a silicone floor squeegee to push water towards the drain, reducing the growth of mould in the tile joints caused by prolonged moisture.
If there is a suspected blockage in the drainage pipe, contact a licensed professional for treatment. Do not dismantle the pipes yourself; appoint professional technicians to use pipe endoscopes or air pumps to check inside the pipes, ensuring the cleaning process does not damage the existing drainage structure, maintaining long-term system operation.
- Install waterproof strips to guide water flow
- Use a squeegee after bathing to reduce pooling
- Hire professionals to clear pipe debris
- Keep the floor surface dry and ventilated
The role of seeking professional property inspection support
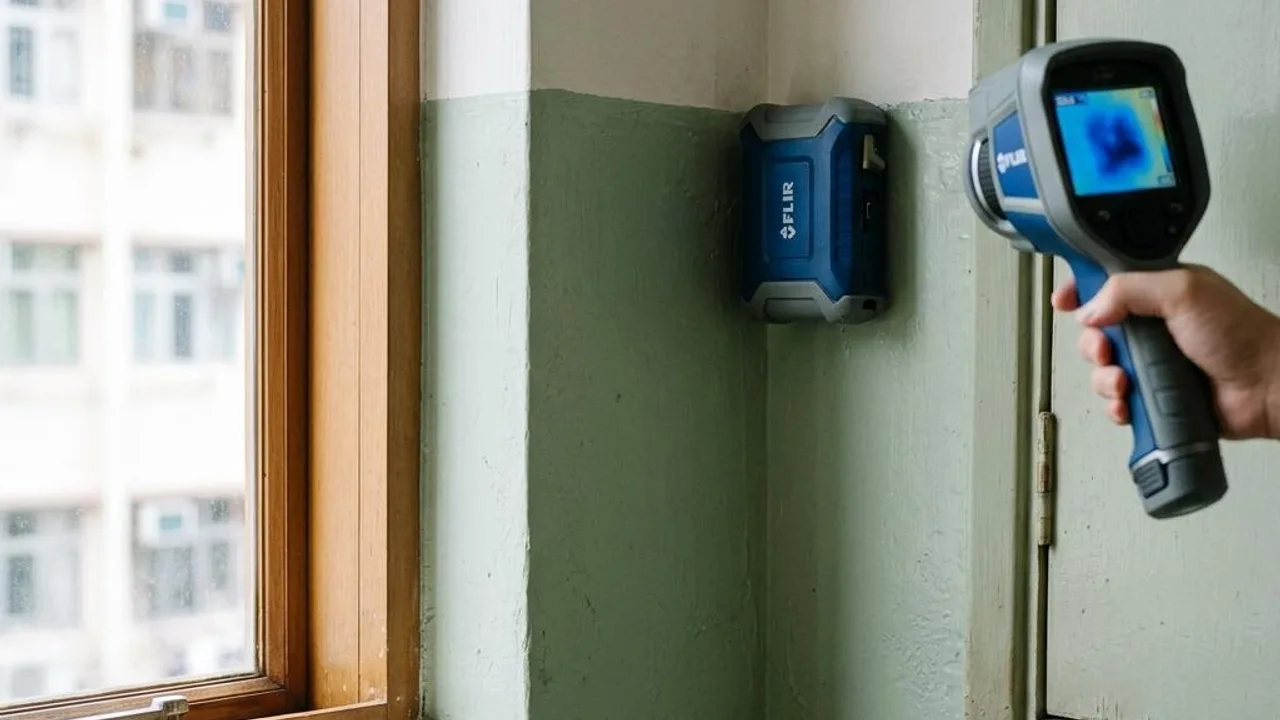
Issues involving hidden structures or waterproofing layers are typically highly complex. When disputes arise between owners and developers regarding slope standards, professional data analysis can provide objective evidence, helping to accurately assess the extent of construction defects.
Professional teams are usually equipped with appropriate instruments to help owners identify the root of the problem and provide objective advice during maintenance negotiations, ensuring that disputes can be resolved logically and avoiding ineffective, repeated renovation works.
- Provide objective inspection data and analysis
- Use professional instruments to detect hidden defects
- Assist owners in reasonable negotiations with developers
FAQs
If water pooling is found during property inspection, does it definitely mean the drainage slope is insufficient?
Not necessarily. Water pooling could also be caused by depressions around the drain, uneven tile laying, or internal blockages in the drainage pipe. Owners should coordinate with pour-water and spirit level tests to confirm whether it is a lack of gradient or simply a local construction error.
If the developer refuses to re-lay the entire area, how should I follow up?
Owners should retain all inspection records, images of pooling areas, and written requests. If no agreement can be reached, you can ask the contractor to prove that the rectified area achieves effective drainage, and you must ensure a flood test is performed again to ensure the waterproof layer is not damaged by the partial demolition work.
Is it feasible to hire a master to raise the drainage level myself?
Self-modification is not recommended. Changing the height of the drain involves the piping structure and restoration of the waterproof layer; if operated incorrectly, it easily causes leakage risks or affects pipe drainage. If required, ensure you appoint a licensed professional to handle it and ensure construction complies with relevant building regulations.