
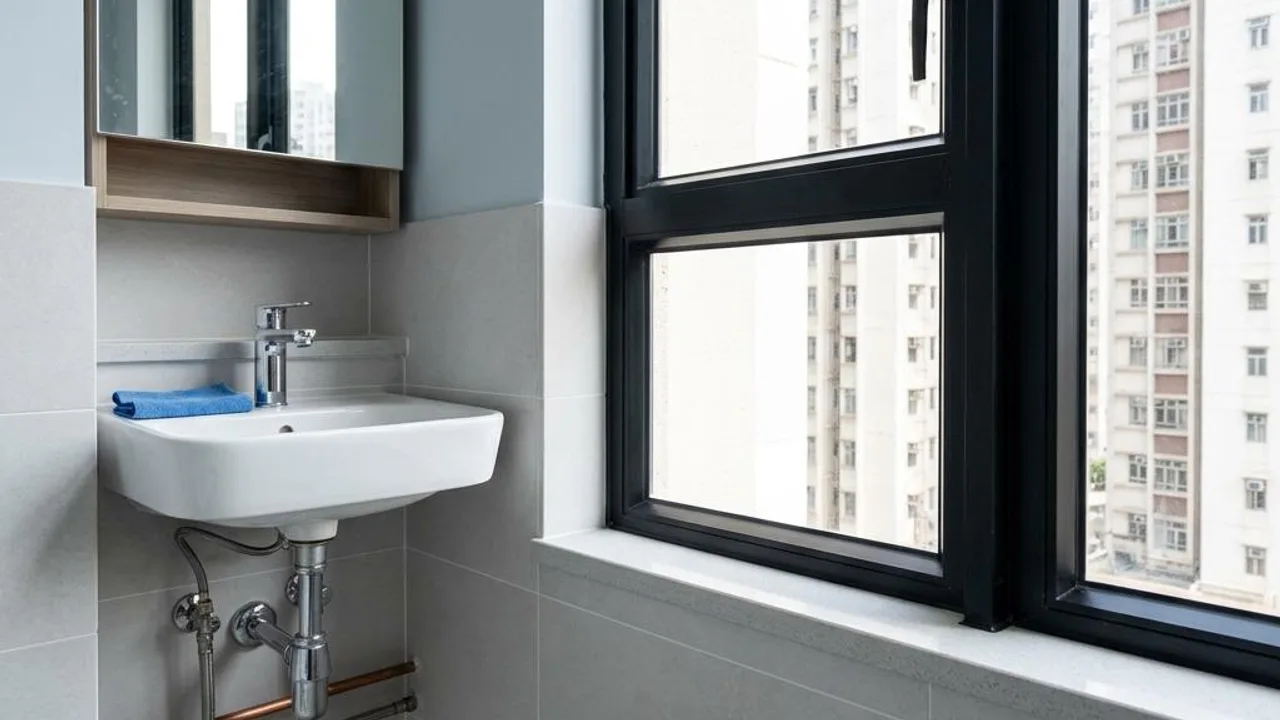
Window System Structural Inspection
The sealing and structural integrity of windows are the first line of defence against seepage. When inspecting each window, open and close it multiple times to ensure it operates smoothly without resistance. After locking, it must be tightly sealed with no obvious shaking or gaps. Also, carefully check the stability of window hinges and whether the sealant strips around the window frame are intact, looking for signs of shedding or ageing.
Drainage hole function is also crucial; during inspection, ensure that drainage holes at the bottom of the window frame are not blocked by sand or paint to prevent backflow. Glass appearance should not be overlooked; carefully observe for obvious cracks, chipped edges, or serious scratches under sufficient light. If any loose window components or missing parts are found, take photos to record them immediately and include them in the defect rectification list.
- Open and close multiple times to confirm the smoothness of hinges and locks
- Check the sealing of rubber strips for ageing or cracks
- Ensure that window frame drainage holes are clear and unobstructed
- Inspect the glass for cracks or scratches
Daily Observation of Water Supply, Drainage, and Pipe Positions
The water supply and drainage systems in a home involve complex pipe connections. Where permitted, check washbasins, kitchen sinks, and floor drains to observe whether drainage is smooth and if there is any unusual odour. After letting water run briefly, use a torch to check visible pipe positions inside cabinets and wall connection points to confirm if there is any water seepage or dampness; this is the most direct method for early detection of leaks.
When testing, do not block drain outlets to force an overflow test, or perform large-flow water pouring without notice. This could cause damage and potentially trigger accidents. If you find water backing up from the drain or obvious water stains, stop using water immediately, ensure nearby electrical facilities do not short-circuit due to contact with moisture, and notify the developer as soon as possible to arrange an inspection.
- Check drainage outlets for odours and blockages
- Check pipe joints inside cabinets for water droplets
- Observe if the water output speed is smooth without overflow or leakage
- Ensure the surrounding environment is dry and safe during observation
Professional Considerations for High-pressure Water Jet Tests
A high-pressure water jet test is a method for checking signs of water leakage at window edges or external wall joints by simulating severe storm conditions. However, this item is not part of the standard property inspection process and must only be carried out with explicit authorisation from the developer or management office. Some developers may prohibit such pressure testing to protect the building structure or warranty agreements, and property owners must respect these restrictions.
If testing is approved, it must be performed by professionals who strictly control water volume and pressure to avoid unnecessary indoor flooding caused by excessive water. The results of a high-pressure water jet test only reflect the conditions at the time of testing. Even if no leakage is observed during the test, there is no guarantee that leakage will not occur in future extreme weather conditions; results are for reference only and cannot be considered a guarantee of future conditions or confirmation of the integrity of the structural waterproof layer.
- Requires separate application and confirmation of approval.
- Strictly comply with testing time limits and scope.
- Results only reflect the simulated conditions at the time.
- Take care to protect surrounding equipment from water damage.
Limitations of Dry Observation and Recording
Before starting any water-based testing, a comprehensive visual inspection should be conducted while dry. Observe the window sills, ceilings, and areas around pipe fittings for existing water marks, mould, or peeling wall paint. These phenomena often reflect legacy issues from original construction. If the property has been cleaned or used that day, this should be noted in the records to avoid misidentifying normal cleaning water marks as leakage.
If water supply is not yet turned on on the day of the property inspection, or if pipe fittings are obscured by fixed renovation work, these should be honestly listed as restricted items in the report. Do not assume that unchecked items are normal; this recording method protects the owner's interests by reminding them to remain vigilant regarding these untested items after moving in, or to perform a supplementary inspection once permission is granted.
- Record existing water marks and mould on walls first.
- Mark restricted areas that cannot be inspected.
- Distinguish between cleaning water stains and structural leakage.
- Save video records with date markers.
Anomaly Handling and Safety Precautions
Safety is the highest principle of property inspection. Once any loosening of window sashes, severe rust on window hinges, or risk of components falling is discovered during the inspection, all operations should be stopped immediately. Avoid touching such areas and notify the person in charge on site. It is strictly forbidden to climb out of windows or disassemble any fixed renovation components to verify leakage; such behavior is extremely dangerous.
If persistent water leakage is found, causing the floor to become slippery or water to reach power sockets, personnel should be moved away from the scene quickly, the water supply shut off, and the power supply confirmed as disconnected. Do not attempt to repeatedly pour water or use tools to clear pipes yourself to avoid spreading the localized problem; such situations should be documented and left for follow-up by professionals.
- Do not operate if window components are loose.
- It is strictly forbidden to climb out of windows to conduct tests.
- If leakage is discovered near electrical areas, cut the power immediately.
- Avoid repeated water pouring which may cause secondary damage.
Follow-up and Reinspection After Repairs
Reinspection after defect rectification must be equally rigorous. Request that the responsible party provide operational advice for the repair location, such as how long to wait before performing a water test again. During the reinspection, the original issue log must be compared to ensure that all recorded items have been improved. If the repair involved removing wall sections or replacing parts, check the adjacent areas for damage or unevenness to ensure the original renovation quality is maintained upon handover.
Please note that a single inspection report or an after-rain test on a sunny day cannot serve as a guarantee of long-term waterproofing. Leakage causes are sometimes very hidden, and an inspection only reflects the conditions at that specific time and is not a guarantee of the structure or the waterproof layer's condition. If leakage is discovered again during future use, the current and previous inspection records must be kept as proof for complaints, and, if necessary, a qualified professional should be hired for in-depth testing. Window inspections involve legal regulations and fall under the responsibility of registered minor works contractors with the Buildings Department, and are not included in general inspection services.
- Confirm that repair materials have cured before reinspecting.
- Cross-check original records with post-repair details.
- Check adjacent areas for damage or injuries.
- Retain past records as long-term evidence.
FAQs
If dust is found blocking the window frame drainage holes during property inspection, is this a serious leakage risk?
Drainage hole blockage will cause water to accumulate in the window frame and be unable to drain, which may backflow into the interior during heavy rain. This is a maintenance matter that should be recorded and requested for cleaning and flow-testing by the developer.
If the water supply is not connected on the day of the property inspection, how should I record the pipe inspection?
It should be clearly listed in the report as a restricted item (no water supply); do not assume the pipes are normal. Once the move-in is official and water is connected, observe the joints for any leakage and follow up in a timely manner.
Can I test waterproofing performance by using a household spray nozzle on the window edges myself?
Self-testing of this kind is not recommended because water volume and pressure are difficult to control, and unprofessional operation can lead to water damage or damage to the sealant. You should record the condition of the window surface, and if in doubt, request the developer to arrange for a qualified person to perform a professional test.