
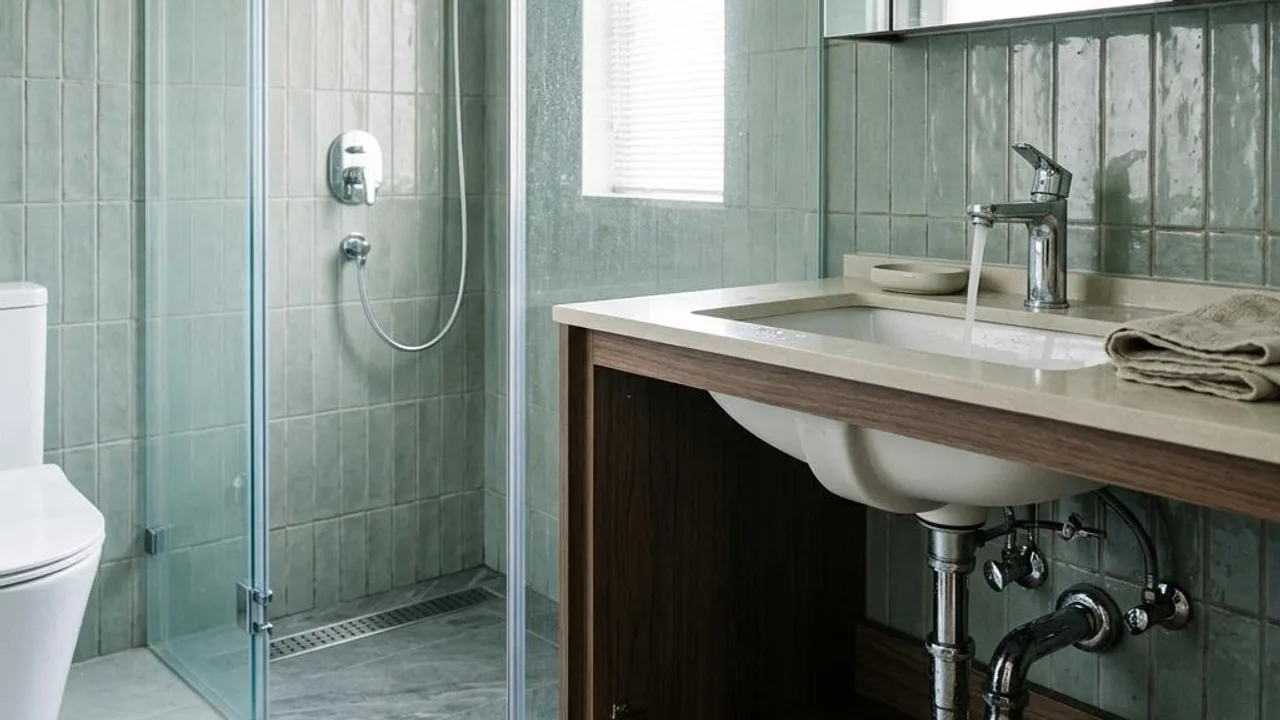
Perform a dry inspection first and record original marks
Before turning on any taps, a dry inspection is the foundation for accurate observation. Check whether damp marks already exist on the floor, under cabinets, and at pipe connections; this avoids confusion between pre-existing leaks and water splashed during the inspection. It is recommended to record all observed water stains, peeling sealant, cracks in sanitary ware, and areas of stagnant water. Also, confirm whether the site has just been cleaned, as this background information is crucial for judging leakage status.
Visual inspection is the first step in acceptance. You cannot judge the source of a water leak based on water stains alone; for instance, ceiling stains might be caused by an upstairs unit or other reasons. Record discovered defects in detail and take photos for future reference. If the unit is unoccupied, pay extra attention to signs of long-term dampness. These original observations provide critical evidence for comparison in future repairs; do not clear the site before recording.
- Are there damp marks on the floor, under cabinets, or at pipe connections?
- Are there chips or cracks on the surface of sanitary ware?
- Are the joints intact or showing signs of peeling?
- Are there existing water stains or mould spots?
Functional testing of washbasins and plumbing connections
With the owner's consent and confirmation that water supply is normal, turn on the washbasin tap as you would in normal use. Observe the water flow rate and drainage at the basin bottom, while checking for water beads at joints. This test should be brief; do not leave water running for a long period. Note any obvious unusual sounds, backflow, or odours during drainage, as these may signal issues with the drainage pipe structure or the U-trap.
If items inside a cabinet are blocking the plumbing, move them before inspection or note in the report that full observation was impossible due to obstruction. This prevents disputes when tracing the cause of a leak later. If signs of leakage are found, stop the test immediately and shut off the water valve. Do not attempt to adjust or dismantle complex drainage systems without confirmation to ensure compliance with safety regulations.
- After turning on the water, are there any water beads appearing at the joints?
- Is there any obvious backflow, unusual sound, or odour during drainage?
- Are items inside the cabinet blocking the plumbing?
Observation of floor drainage and floor slope; floor ponding tests are strictly prohibited
Is the bathroom floor drainage smooth? Primarily observe residual ponding after daily use. Do not perform heavy splashing, block the floor drain, or fill the floor to test the waterproof layer. Such actions can easily cause leakage to the unit below, resulting in unnecessary legal liability. The floor slope design is generally intended to guide water flow; if ponding is severe and cannot drain, record it and request the inspector to evaluate it.
Observing surface ponding and professional waterproof layer testing are two different things. Whether a waterproof layer is intact requires professional testing, not self-conducted ponding experiments at home. If obvious seepage or water stains are found extending from bathroom edges, record the location and circumstances in detail, then seek advice from a professional property inspector or registered contractor to ensure the testing process does not threaten structural safety.
- Range of floor ponding after normal use
- Is there stagnant water around the floor drain that is difficult to clear?
- Are there signs of damage to floor joints?
Safety inspection of sanitary ware and joints
Check the surface and fixation of toilets, washbasins, bathtubs, and shower facilities from a safe distance. Look for chips, obvious cracks, or signs of looseness. Never use body weight to rock sanitary ware to test its firmness, as this may cause damage or injury. All inspections should be observational; keep facilities in their existing fixed state. If abnormalities are found, stop operation.
Check the smoothness of operation for shower screens, door locks, and doors. If glass shower screens have looseness, abnormal friction, or damage, stop opening/closing them immediately and notify relevant parties. Do not force adjustments to hinges yourself to avoid glass breakage. If sealant at wall corners, basin edges, or bathtub edges has detached, record it for later simple waterproofing repairs to prevent water from seeping into the walls.
- Chips, cracks, or obvious signs of looseness on sanitary ware
- Is there abnormal friction when operating the shower screen?
- Gaps or detachment at basin edges, bathtub edges, or wall corner joints
Precise recording of locations and specific conditions
Reports should be practical; for example, describing that water beads appear at the drainage connection under the guest bathroom washbasin after turning on the tap for a while is more helpful for follow-up than a general 'toilet leaking'. Photos taken by the owner should be filed with defect numbers for easy reference. Areas that could not be operated or inspected due to obstruction should be listed separately from observed results to avoid omissions.
Maintain neutrality and objectivity when recording; detail the observed phenomena, locations, and conditions of use at the time. This not only assists communication with the owner or agent but also acts as a guide for future repair work. Do not fill cracks or apply paint before official processing, as this interferes with the repairman's ability to determine the root cause. It is essential to preserve the state as found until follow-up arrangements are implemented.
- Specific fault locations and corresponding test conditions
- List of equipment that could not be operated
- Numbers and supporting explanations for photos taken on-site
Standard for reinspection after repairs
After relevant works are completed, reinspection must be performed according to the original test conditions. Repair materials or newly replaced equipment should only come into contact with water after they are completely dry and have reached appropriate hardness. Do not start testing just because the surface appears dry. During the test, return to the original position and observe under the exact same conditions as before the repair, noting improvements and whether new damage has appeared.
Remember, replacing a rubber seal or filling a gap does not necessarily mean all leakage causes have been eradicated. If the same problem persists after testing, demand further investigation from the contractor rather than blindly repeating simple repairs. A complete acceptance process should include final reinspection to ensure facilities continue to work well under daily usage. If leakage persists after repairs, consulting more in-depth professional inspection services is recommended.
- Confirm drying time and material limitations after construction
- Perform reinspection under identical usage conditions
- Record improvements and remaining residual problems
FAQs
What should I do if I find obvious water stains during inspection but no water beads during testing?
Record the original status of the water stain in detail and archive photos, noting the operating conditions at the time. Leaks may be intermittent or originate from external environments influenced by weather; keep records and consult a qualified person for further professional diagnosis. Do not fill and seal the marks yourself.
If I find the bathroom drains slowly, should I try to clean the drainage pipe?
It is recommended to only observe and record drainage efficiency. Cleaning drainage pipes falls under maintenance; if it involves dismantling or using chemical agents that might cause pipe connections to loosen or break, you should ask the responsible party to follow up to avoid causing unnecessary leaks by operating it yourself.
Should I perform a ponding test immediately after maintenance staff finish waterproof repairs?
You should not perform a ponding test immediately. Repair materials require sufficient time to set and dry; testing too early may ruin the repair effect. Follow the material's instructions to wait for full curing and test under normal water flow conditions rather than risky methods like ponding.