Correctly interpret property inspection marks.
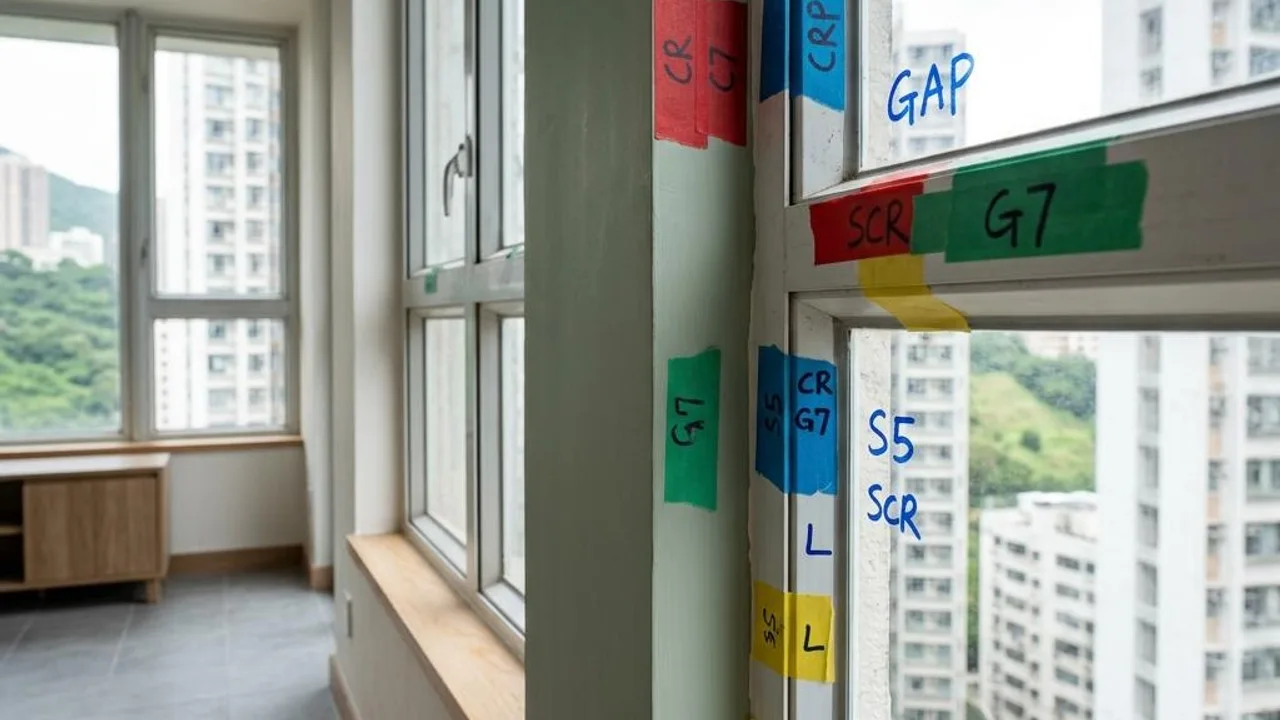
After completing the inspection, the building inspector will typically stick marker paper on the defects in the unit and detail the location and extent of the damage in the report. Do not remove these markers without authorisation, as they are the most direct navigation when contacting the contractor for defect rectification. Once workers arrive, they must rely on these stickers to pinpoint the maintenance area; tearing them off too early will only lead to misunderstandings, or even result in the wrong location being repaired.
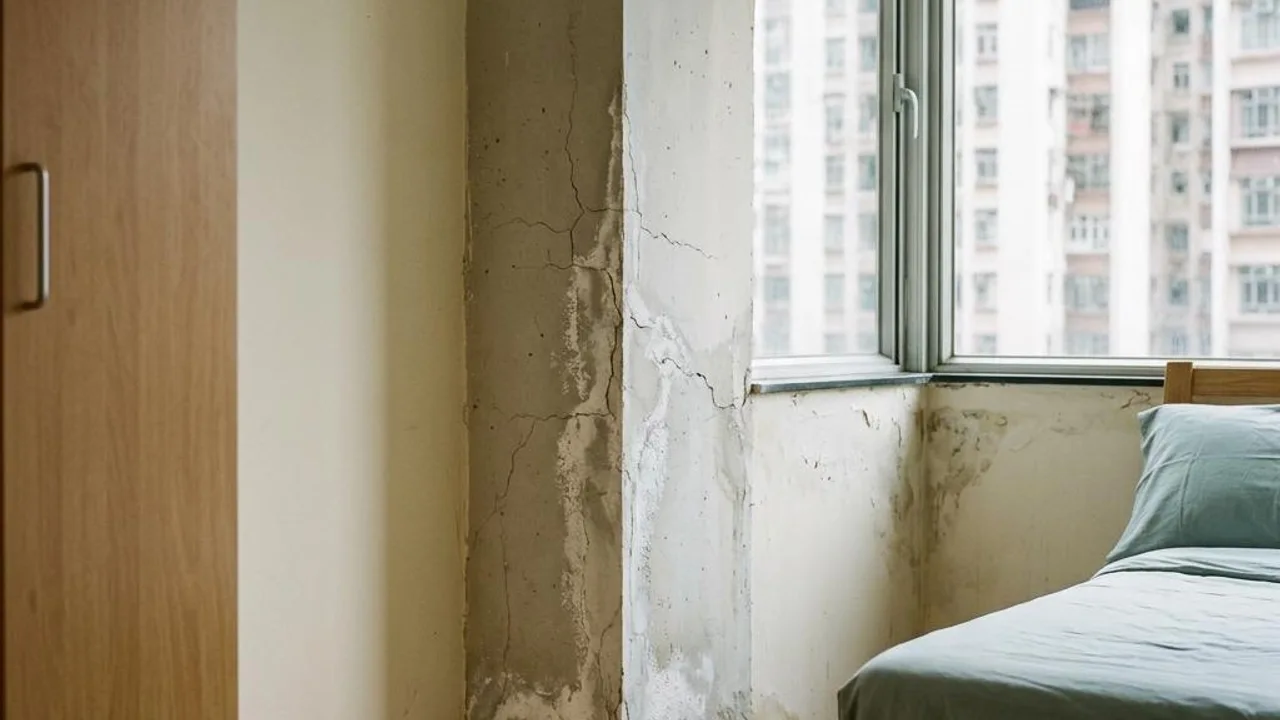
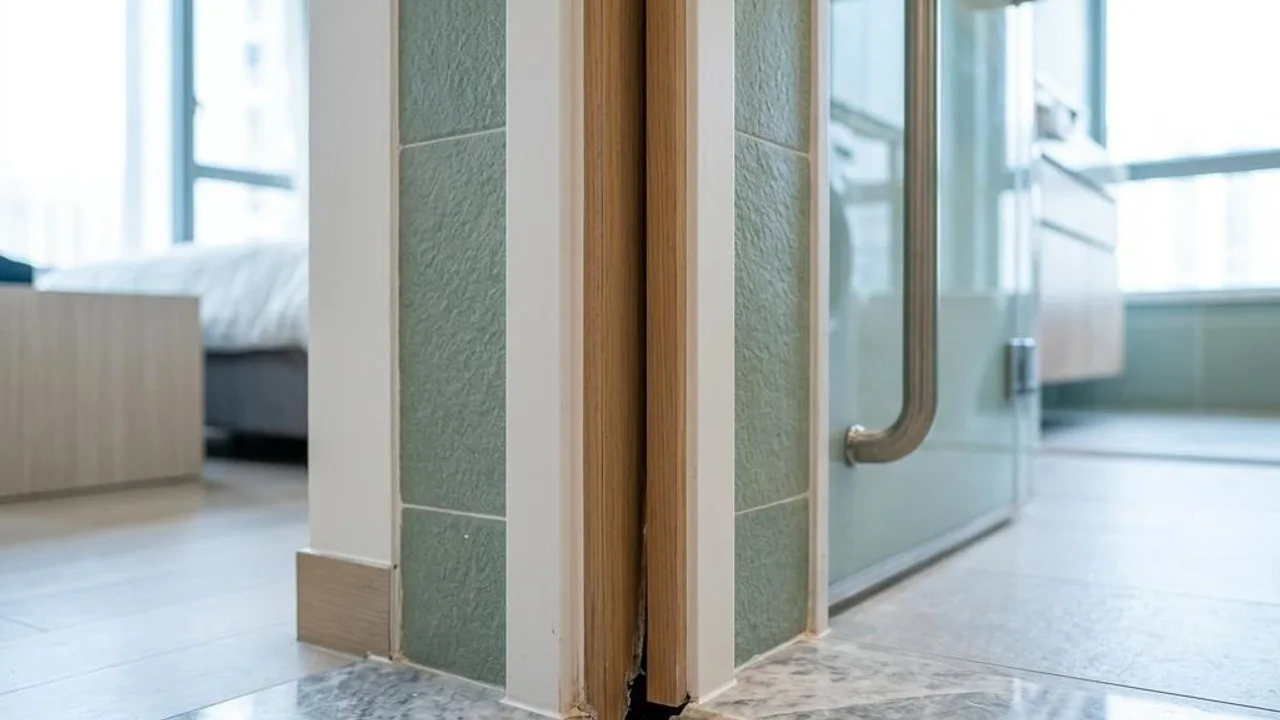
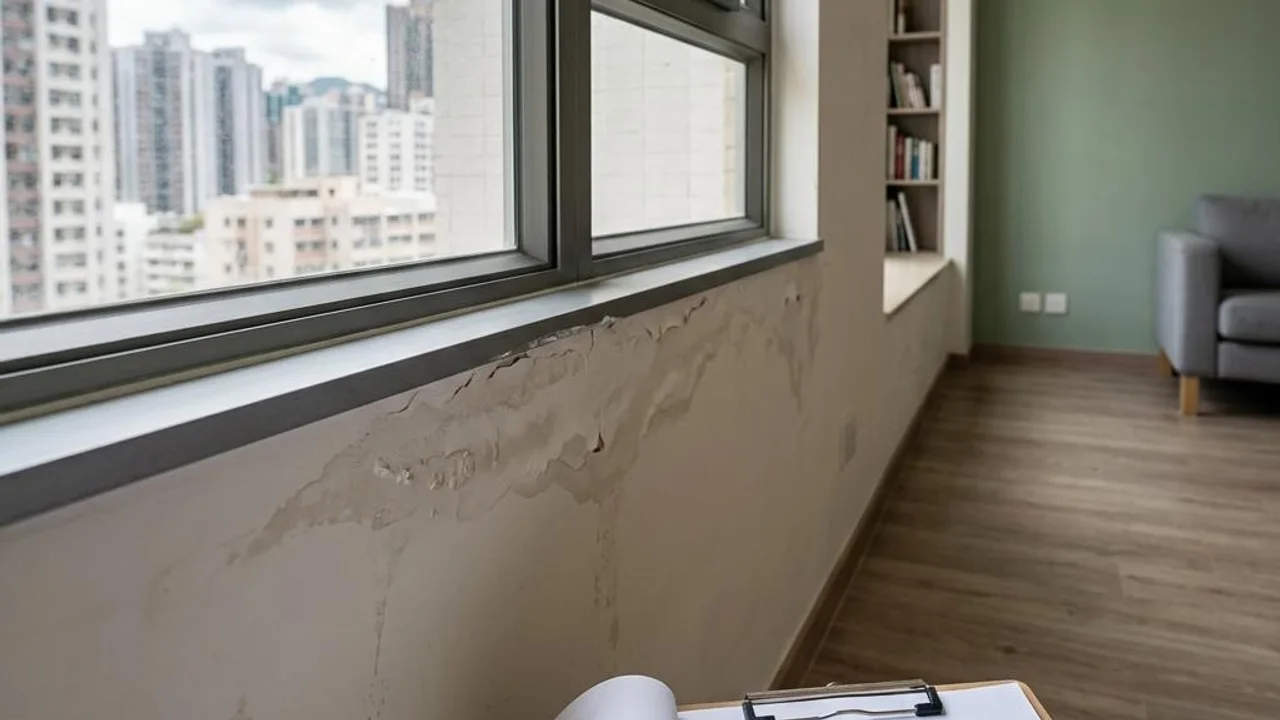
When reading the report, priority should be given to defects affecting functionality and structural safety, such as hollow floor tiles, wall water seepage, or unstable electrical sockets. Such problems have a high chance of affecting future living safety and convenience and must be insisted upon for the developer to handle. As for extremely minor paint colour differences or inconspicuous light scratches, reasonable judgment can be made depending on the damage area to avoid excessive rectification leading to the risk of internal damage.
- Retain on-site markers to help workers locate areas.
- Classify and handle structural and aesthetic defects.
- Ensure the property inspection report photos correspond with the site.
- Prioritise water seepage and unstable voltage issues.
Compile an efficient defect rectification list.
Turning a property inspection report into an effective defect rectification list requires strategy. When completing the form, be sure to clearly mark the location and specific details of the defects to ensure the contractor fully understands your requirements. It is recommended to adopt a 'big picture' strategy, focusing limited time on addressing high-impact defects rather than obsessing over minor surface scratches.
Excessive repairs can sometimes be counter-productive. For instance, if you force the local removal and redo of minor plastering cracks on a wall, it may cause widespread colour inconsistency in the paint or uneven plasterwork. Therefore, rather than chasing absolute perfection, focus on supervising items that affect daily functionality, ensuring the quality of repairs rather than simply the quantity.
- Clearly list the locations of defects.
- Focus on key items that affect functionality.
- Avoid unnecessary destructive repairs.
- Detail repair requirements to avoid disputes.
Progress monitoring and rigorous reinspection.
Before submitting your defect rectification list, you must take photos of every defect as a record; this is vital evidence should any accidental damage occur during the repair process. Typically, defect rectification for a new property takes two to three weeks, during which you can regularly follow up on the expected completion date through the management office. Upon receiving notification for a reinspection, you must not only check if the issue has been repaired but also ensure the surrounding finishes were not damaged during the repair work.
Reinspection is the final line of defence in guaranteeing the quality of defect rectification. If you find that the repairs have not met the standard, such as hollow tiles not being fully fixed or significant colour differences in the touch-up paint, you should refuse to sign off and request further repairs. Maintain an objective and rational attitude when communicating with the management office, and record the progress of each round of reinspection until all critical defects are properly addressed.
- Take photos of defects for your records before submission.
- Regularly enquire about repair progress from the management office.
- Check for collateral damage during reinspection.
- Refuse to sign off on unsatisfactory work.
Support from a professional inspection team.
When faced with complex repair requirements, if an owner has limited knowledge of architectural terminology or building standards, they are highly likely to be at a disadvantage during defect rectification negotiations. At this stage, seeking a professional OPO Inspection team to act as technical consultants becomes particularly important. The team can assist in determining the severity of defects and provide objective standards, giving owners more confidence to require the contractor to fulfil their responsibilities and avoid being fobbed off.
Professional teams remain effective during the reinspection phase. They apply professional standards to verify the quality of defect rectification, ensuring that the developer has not cut corners or concealed any issues. This professional oversight assists homeowners in successfully restoring their units to an ideal state, truly reflecting the practical value of a property inspection report as a tool for protecting rights.
- Professionals assess the severity of defects
- Act as a technical consultant to communicate with the contractor
- Verify the quality of defect rectification using professional standards
- Reduce legal concerns for homeowners protecting their rights
Report and reinspection process after defect rectification.
Homeowners should note that electronic property inspection reports do not usually include photos; it is recommended that owners take their own photographic records within the unit to compare changes before and after defect rectification. Electronic reports are typically sent to the owner's designated email address on the next working day after the inspection.
If the results are still unsatisfactory after the first round of defect rectification, the homeowner must arrange for a subsequent reinspection. Reinspection is not an automatically free routine service; it is an independent follow-up project. It is essential to confirm the arrangements and procedures with the relevant parties in advance to ensure that maintenance work continues until the problem is resolved.
- Electronic reports are usually sent the next day
- Standard electronic reports do not contain on-site photos
- Reinspection is an independent service, not automatically free
- Homeowners should back up image records of defects themselves
FAQs
How should I handle it if the developer fails to complete all defect rectification items within the time limit?
Homeowners should ensure that all incomplete items are documented and request a maintenance schedule from the developer in writing through the management office. If critical functional defects are involved, highlight their impact on move-in feasibility and, if necessary, seek legal advice or report the matter to the relevant regulatory authorities.
Since the property inspection report does not contain photos, are there any special points to note when owners take their own photos?
It is recommended to adopt a 'from large to small' approach: first, take a wide-angle overview of the defect's location within the room, then take close-up shots of the defect. Ensure the photos are clearly focused and use the date stamp function so that they can be compared with the condition after rectification later on.
How can I protect my rights if I discover damage elsewhere caused by maintenance work during a reinspection?
If secondary damage is discovered during a reinspection, refuse to sign off on the relevant work on the spot. It is recommended to photograph the damaged area immediately and invite a representative from the management office to confirm the situation on-site. Include this damage in the new repair list, require the developer to fix it as well, and keep all communication records as evidence.