Why water leakage inspection is crucial
Residential leakage is one of the most challenging issues during handover and acceptance. The impact of water damage is not limited to surface aesthetics, such as peeling or discoloured paint; long-term leakage can further erode the building structure, leading to rusted steel reinforcement, concrete spalling, or even timber rot, fundamentally undermining the service life and value of the property.
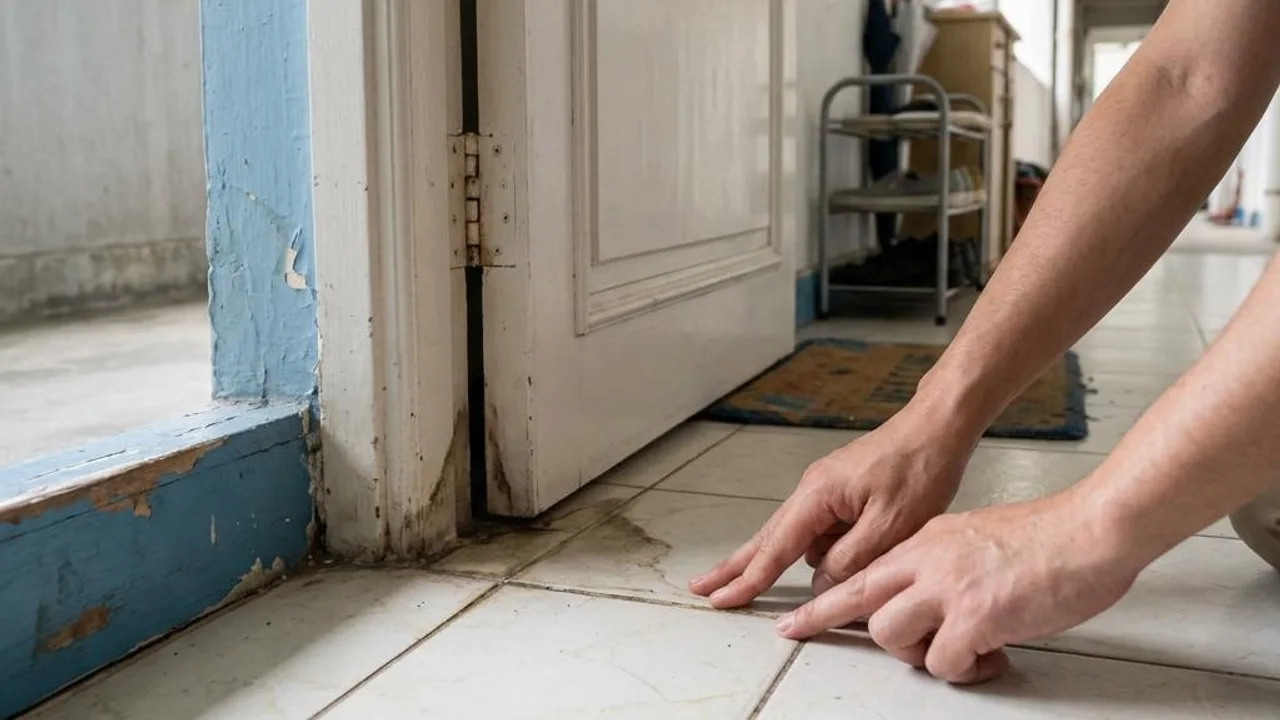
Conducting a thorough inspection before moving in can assist owners in requiring the developer or seller to handle issues within the maintenance period. Through observing the condition of walls, ceilings, and floors, owners can identify these hazards early, avoiding the need to bear high repair costs discovered only after moving in.
- Early discovery of leakage to reduce structural damage
- Avoid mould and odour problems caused by water leakage
- Ensure interior renovation materials are not eroded by moisture
- Maintain the market value and living safety of the property
Core inspection areas and observation methods
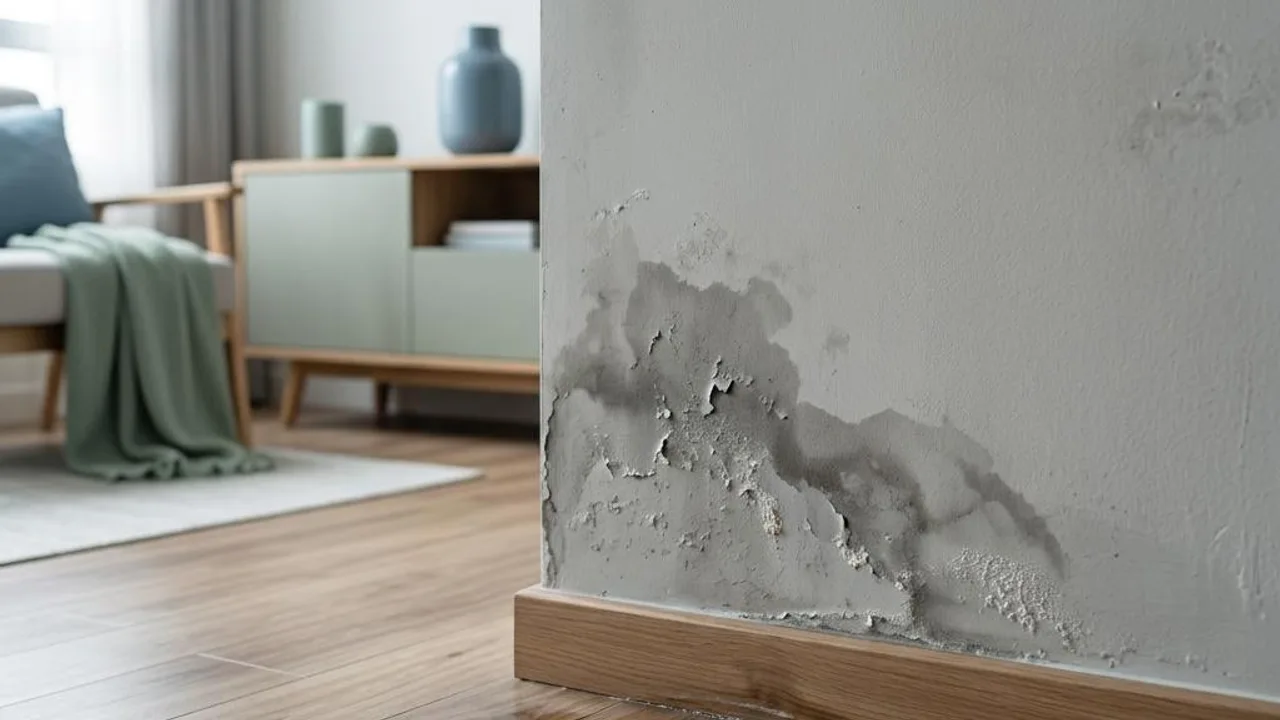
Inspection work should focus on areas where water is most frequent, such as kitchens, bathrooms, and exterior windows. Owners should pay attention to ceilings and wall corners; these areas are the most common starting points for signs of water leakage. Observe whether there are water stains, mould spots, or signs of plaster peeling, all of which are significant signals of leakage.
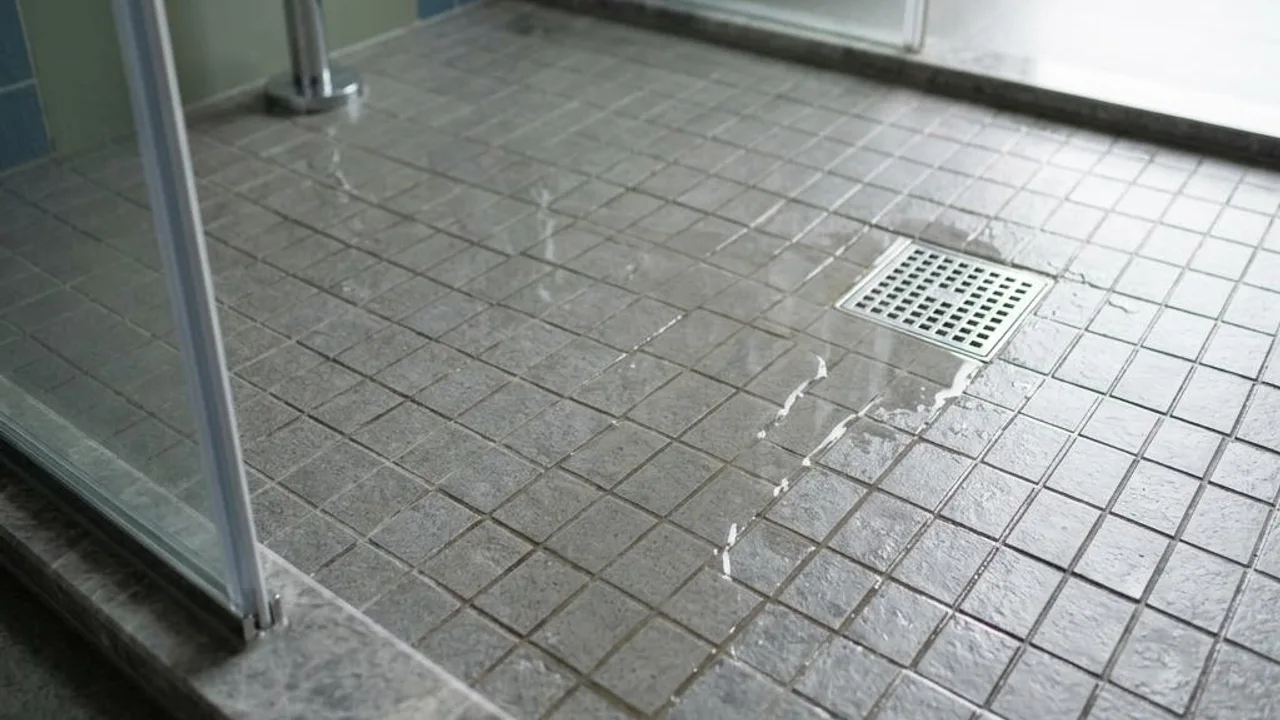
In addition to visual inspection, drainage functions can also be tested to confirm that the floor drainage flows smoothly, preventing water accumulation and seepage caused by blockages. For bathroom equipment, the integrity of the silicone seals at joints should be checked, and one should look for signs of dripping at faucet connections.
- Check whether there are water stains or discolouration on the ceiling
- Observe whether there are mould spots or peeling plaster at wall corners
- Test the drainage speed of kitchen and bathroom floors
- Confirm the condition of the waterproof sealant strips in the shower area and kitchen cabinets
Professional instruments and inspection limitations
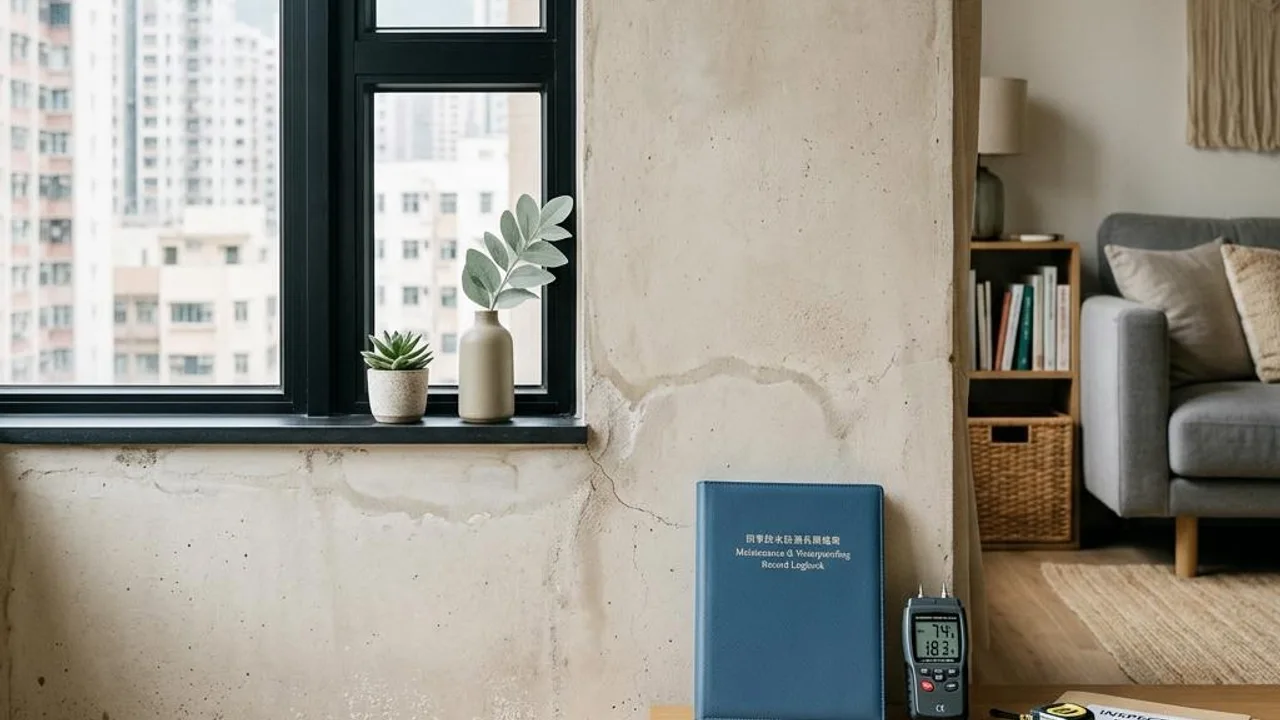
Tools commonly used in the industry include moisture meters, used to detect the moisture content of walls and floors to determine whether the humidity is higher than in surrounding areas. High-end inspections use infrared thermal imaging cameras to identify hidden moisture inside walls through temperature differences, helping to pinpoint sources of leakage that are difficult for the naked eye to detect.
It should be noted that any instrument results serve only as a reference for further investigation. When an instrument indicates abnormal moisture content, it does not directly equate to a water leak; it may also be affected by building material properties or condensation. For complex leakage problems, professional contractors should be consulted for in-depth assessment.
- Use a moisture meter to measure wall moisture content
- Use an infrared thermal camera to assist in inspection
- Instrument results only serve as a reference for further investigation
- Complex leakage problems require consultation with professional contractors
Wall structure and waterproofing inspection
Wall cracks are a primary pathway for water seepage. During property inspection, walls should be carefully examined, especially joints and window frames, to confirm if there are obvious cracks. If moisture penetrates into the interior of the wall for a long time, it will not only cause water seepage but also accelerate the ageing and damage of building materials.
The effectiveness of waterproofing at the exterior wall and window sill directly affects the indoor environment. Owners should ensure that the window frame sealant strips are intact and observe the window sill joints. If leakage is found, the location should be recorded and marked in detail so that repair requirements can be submitted to the developer or property management office.
- Check for gaps or poor sealing around window frames
- Pay attention to the depth and distribution of cracks in the interior walls
- Assessment of the integrity of the waterproofing layer on exterior walls and window sills
- Record suspicious leakage locations for follow-up
Daily maintenance and record-keeping
After discovering leakage, owners should record the affected locations in detail, such as by taking high-definition photos or videos, and note the date and observation details; these image proofs are crucial for tracing repairs. Meanwhile, you should avoid large-scale demolition or renovation changes before the source of the leakage has been confirmed.
To distinguish between minor condensation and actual leakage, owners can observe the timing of moisture appearance. If water droplets appear in humid weather, it may be a condensation issue; if water stains consistently appear in a fixed location regardless of ambient humidity, you need to be particularly vigilant.
- Record and report leakage as soon as possible within the maintenance period
- Retain photos as evidence for repair works
- Avoid performing large-scale waterproofing works without authorisation
- Seek professional advice from qualified personnel when necessary
FAQs
I discovered water stains on the wall during the property inspection; what should I do?
Please mark the location and take photos as evidence immediately; do not remove wall materials yourself. Contact the developer or management office as soon as possible to reflect the situation and require qualified personnel to conduct professional inspection to clarify the source of the water.
Do all signs of moisture represent water leakage in the building?
Not necessarily. The appearance of moisture on the wall may stem from leakage or could be a condensation phenomenon caused by environmental humidity. It is recommended to record the pattern of moisture appearance; if the moisture persists or the area expands, you need to seek professional intervention for investigation.
If water seepage is discovered during the warranty period, am I responsible for the inspection costs?
This depends on the sale and purchase agreement and the terms of the warranty. Owners should check their property handover manual to understand the scope of the warranty. If water seepage is detected, you must notify the seller or property management office in writing within the specified time limit and retain all records of correspondence for follow-up purposes.