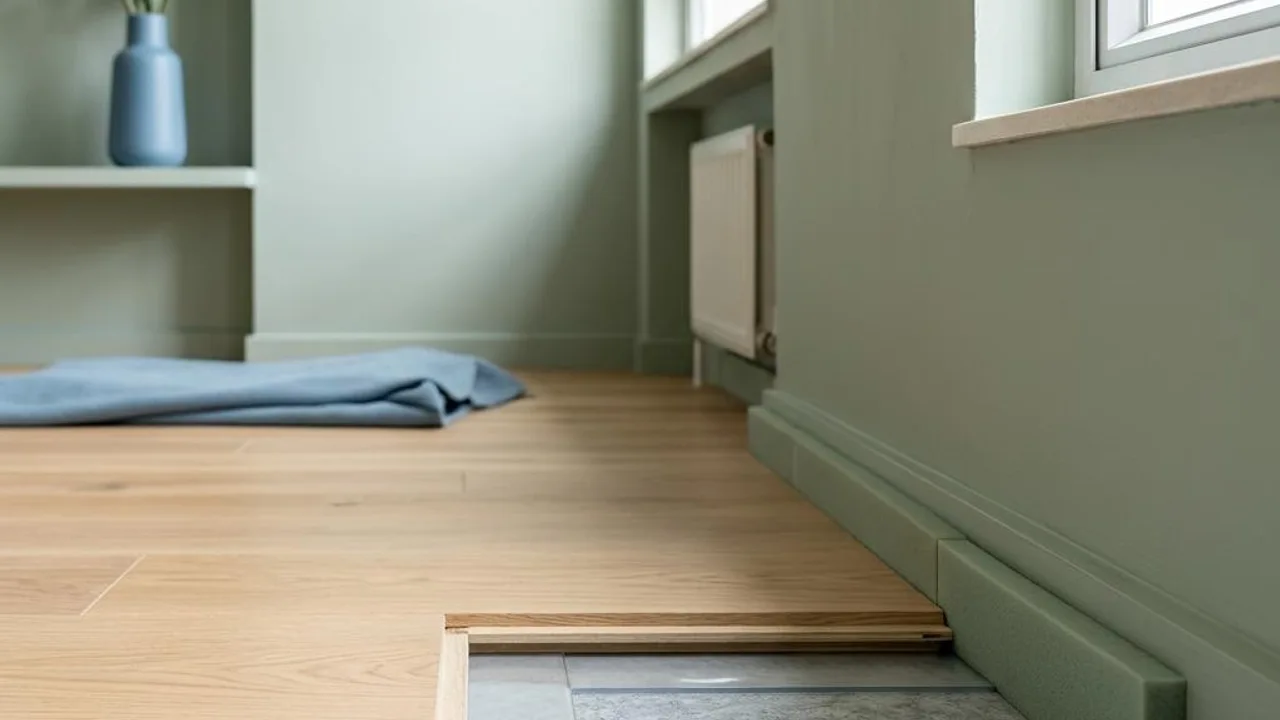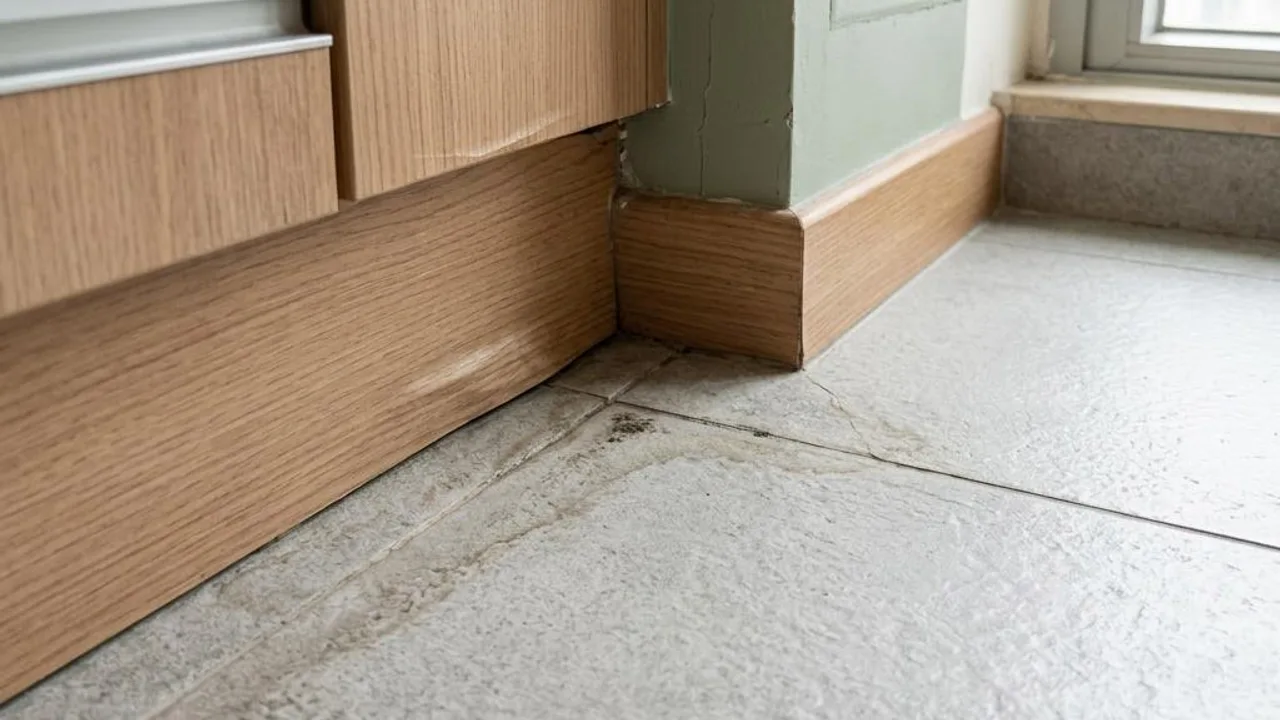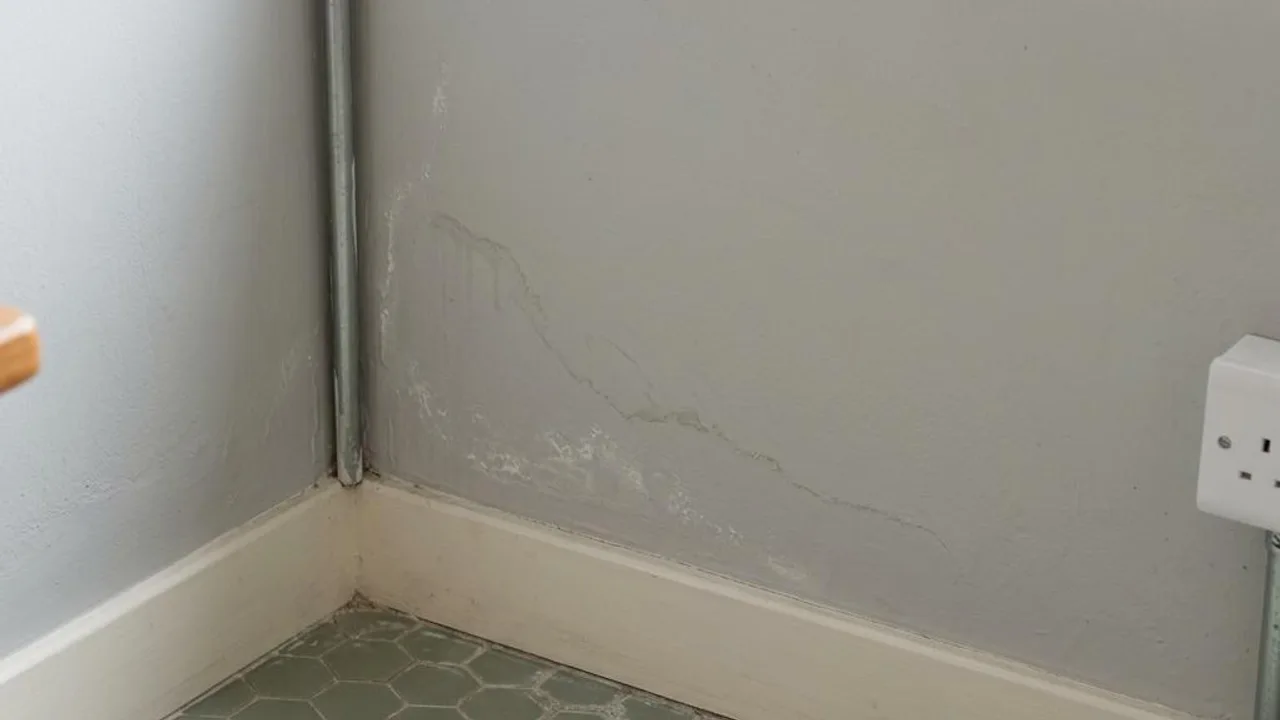
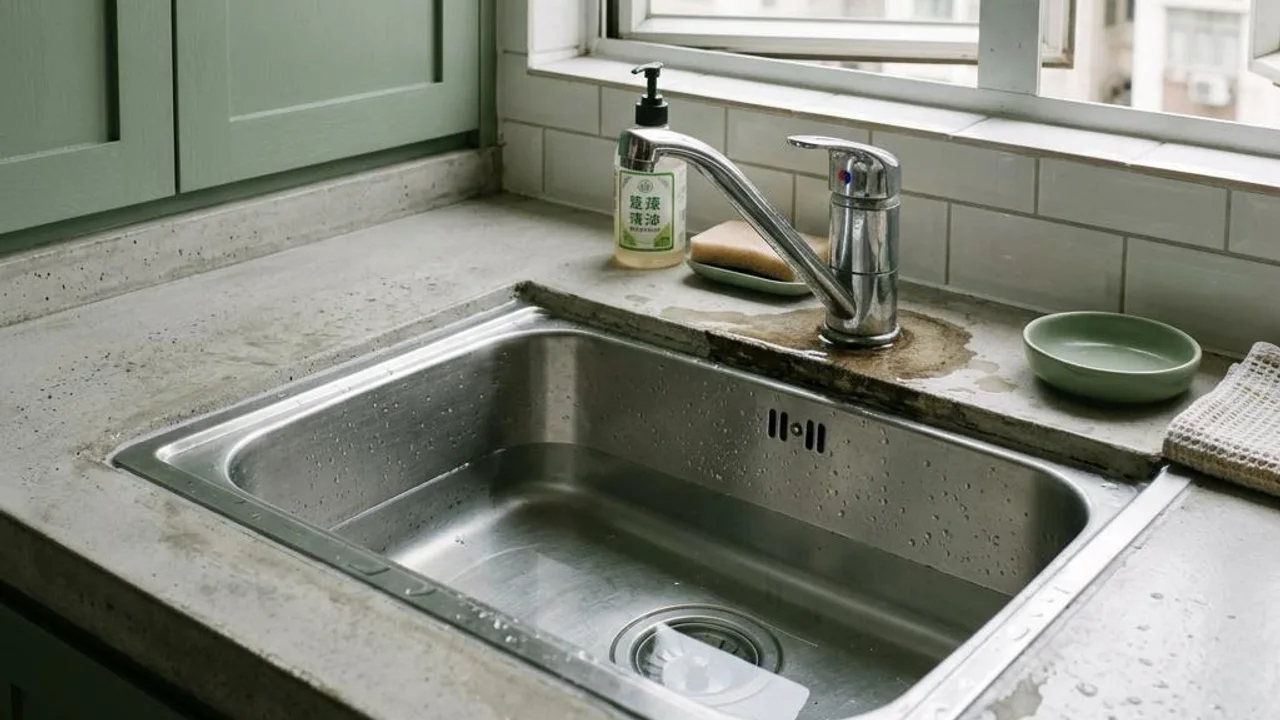
Key points for the water storage test of a shower floor.
Bathroom floor waterproofing is the core of anti-seepage. Owners can block the shower drain, then fill it with about 1 to 2 centimetres of clean water for a water storage test. During the resting period of about 30 minutes to an hour, use a sticker or marker pen to mark the water level and observe if there is any significant drop.
Simultaneously, pay close attention to the boundary between the bathtub and the wall base to observe for any water vapour penetration or discolouration. Although this is not a precision instrument test, it serves as an important benchmark for determining whether the waterproofing layer is intact.
- Ensure a dedicated rubber plug is used to seal the drain.
- Observe changes in the water level during the storage test and make marks.
- Inspect the corners of the walls in detail for signs of water seepage.
- The recommended duration for the static test is at least 30 minutes.
Dynamic inspection of washbasins and kitchen sinks.
The tightness of the drainage and overflow systems of kitchen worktop sinks and bathroom washbasins is directly related to whether the interior of the cupboards will become mouldy. During the test, the sink should be filled with water, and the overflow hole should be checked to see if it can effectively drain water to ensure excess water does not overflow from the joints.
Then, quickly pull out the plug to observe the drainage speed and use a torch to check the concealed pipe connection points under the sink to confirm if there is any minor dripping or condensation. If dripping is discovered, request defect rectification immediately.
- Fill the sink to test the drainage capacity of the overflow hole.
- Observe for any water leakage at the joint between the sink and the countertop.
- Test if the drainage speed is smooth after pulling the plug.
- Examine the pipe connections at the bottom of the cupboard with a torch.
Determining the performance of floor drainage and floor slope.
Floor designs must feature an appropriate slope to ensure water flows smoothly towards the drain. Owners can pour a moderate amount of clean water to test the direction of water flow; if the water fails to flow naturally towards the drain or forms puddles on the floor, it indicates an error in the construction slope.
In addition, the drain cover should be removed to check if there is any blockage caused by mud, sand, or gravel inside. Keeping channels clear can reduce daily standing water and prevent localised flooding caused by slow drainage, protecting the waterproof coating at the floor tile joints.
- Pour clean water to test the slope of the floor.
- Check if there is any standing water that cannot be drained.
- Remove the cover to check if there is any construction debris in the pipe.
- Assess whether there is a tendency for backflow around the floor drain.
Toilet flushing performance and base seal integrity.
If the sealant at the joint between the toilet base and floor tiles is not handled properly, sewage will seep into the floor during daily flushing, causing odours or even affecting the floor below. Owners should flush the toilet repeatedly to confirm if the flushing power is strong and if the pipe echo is normal.
After flushing, one must immediately bend down to check the edge of the base to observe for any overflowing water or emitted odours. If the sealant has gaps or uneven colour, it should be followed up immediately to ensure a complete seal between the toilet and the floor.
- Flush multiple times in a row to detect the pipe discharge capacity.
- Observe for any sewage leakage at the edge of the base.
- Confirm if the base sealant has been applied evenly.
- Pay attention to whether there is any abnormal echo in the pipe when flushing.
Limitations of simple tests and the necessity of professional inspection.
Although the simple tests mentioned above can identify surface defects, they have significant limitations. For example, short-term water storage is difficult to simulate complex long-term water pressure and rainstorm impact; chronic seepage caused by broken concealed pipes inside external walls or minute cracks is difficult to determine through simple water splashing.
These visual blind spots are often hidden deep within the structure. If a rigorous inspection is not conducted during the handover stage, maintenance work will be more complex and expensive once problems are discovered after moving in. Therefore, objective assessment requires the use of professional equipment for comprehensive accuracy.
- Simple tests cannot simulate long-term high water pressure environments.
- Chronic hidden seepage is difficult to detect through surface observation.
- External wall issues require professional equipment to detect.
- It is recommended that critical parts should be handled by a professional team.
Key points for seeking professional property inspection services.
Regarding critical works such as kitchen and bathroom waterproofing, OPO Inspection services are aimed at observing visible signs such as surface temperature distribution to assist owners in identifying potential hidden hazards, rather than guaranteeing the construction quality of concealed works or confirming the state of the waterproofing layer. Infrared thermography only shows temperature differences, not absolute proof of moisture or leakage, and cannot reveal details of concealed structures. Such testing is limited by the scope of view and equipment functionality and cannot certify the safety of structures and water/electrical facilities, predict remaining service life, or ensure repair effectiveness. If the project involves the Mandatory Window Inspection Scheme, please engage a qualified person registered with the Buildings Department.
For complex professional issues, consult relevant engineering experts. Never dismantle electrical appliances, adjust water pressure valves, or perform high-altitude and external wall inspections yourself.
If owners discover suspected seepage points during preliminary inspections, they should specifically mark the locations and take photos as records, then invite qualified personnel for instrument verification to carry out in-depth inspections of concealed pipes or failed waterproof coatings.
- Use professional tools for systematic waterproof inspection.
- Provide detailed and structured evidence for defect rectification.
- Cover concealed water and electricity points that are difficult to observe with the naked eye.
- Reduce maintenance risks caused by leakage after taking possession of the property.
FAQs
When performing a water storage test yourself, if the water level drops slightly, does this necessarily mean the waterproof layer has failed?
Not necessarily. A drop in water level can be caused by various factors, such as evaporation, incomplete sealing of the drain plug, or a siphon effect. It is recommended to confirm that the plug is completely sealed before re-testing; if it continues to drop, you need to hire professionals to perform an instrument test to clarify the cause.
If light condensation or water droplets are found on the kitchen sink drainage pipe, is this a normal phenomenon?
There should be no condensation at pipe connections. If water droplets are found, it is usually caused by loose joints, aging seals, or improper installation. It is recommended to wipe it dry with a paper towel and observe for a period of time; if droplets still appear, you should request relevant personnel to inspect the connection point.
How should an owner communicate suspected seepage discovered during a property inspection to professionals?
The owner should remain calm, first recording the time and location of the problem found, as well as any observed abnormalities (such as water droplets, colour differences, or odours). When seeking professional assistance, clearly state the observed phenomena and request the use of infrared scanning or wall moisture testing tools for confirmation.