Systematic space-partitioning inspection
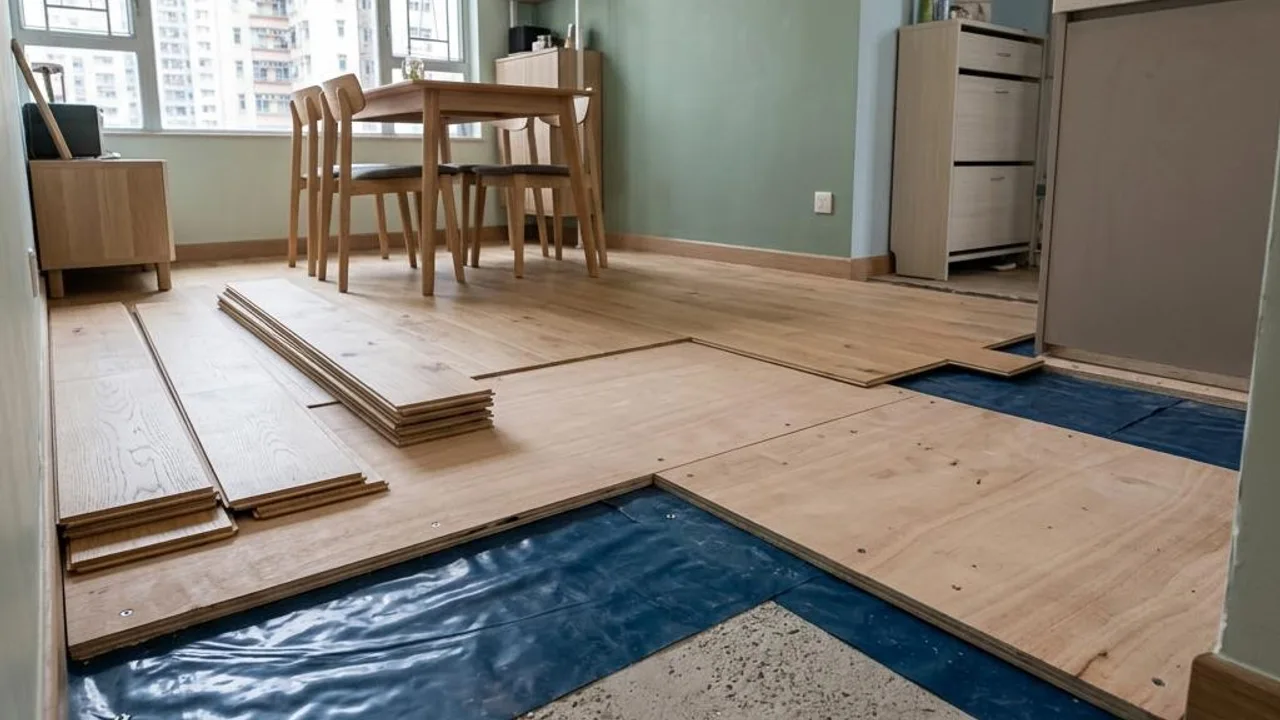
When owners perform their first property inspection, it is recommended to adopt a strategy from top to bottom and outside to inside, carrying out inspections according to the order of space areas. Starting from the entrance, check each room clockwise to ensure no corner is missed.
Subdividing each area into five parts: ceilings, walls, floor tiles, doors and windows, and electrical sockets, and cross-checking them against the list can effectively improve inspection efficiency and avoid repeated trips.
- Start from the entrance and patrol in a clockwise or counter-clockwise direction
- Prioritize inspecting the condition of ceilings and wall plastering
- Finally, focus on inspecting plumbing and kitchen/bathroom drainage devices
- Avoid jumping between rooms during the inspection to prevent omissions
Marking techniques with masking tape
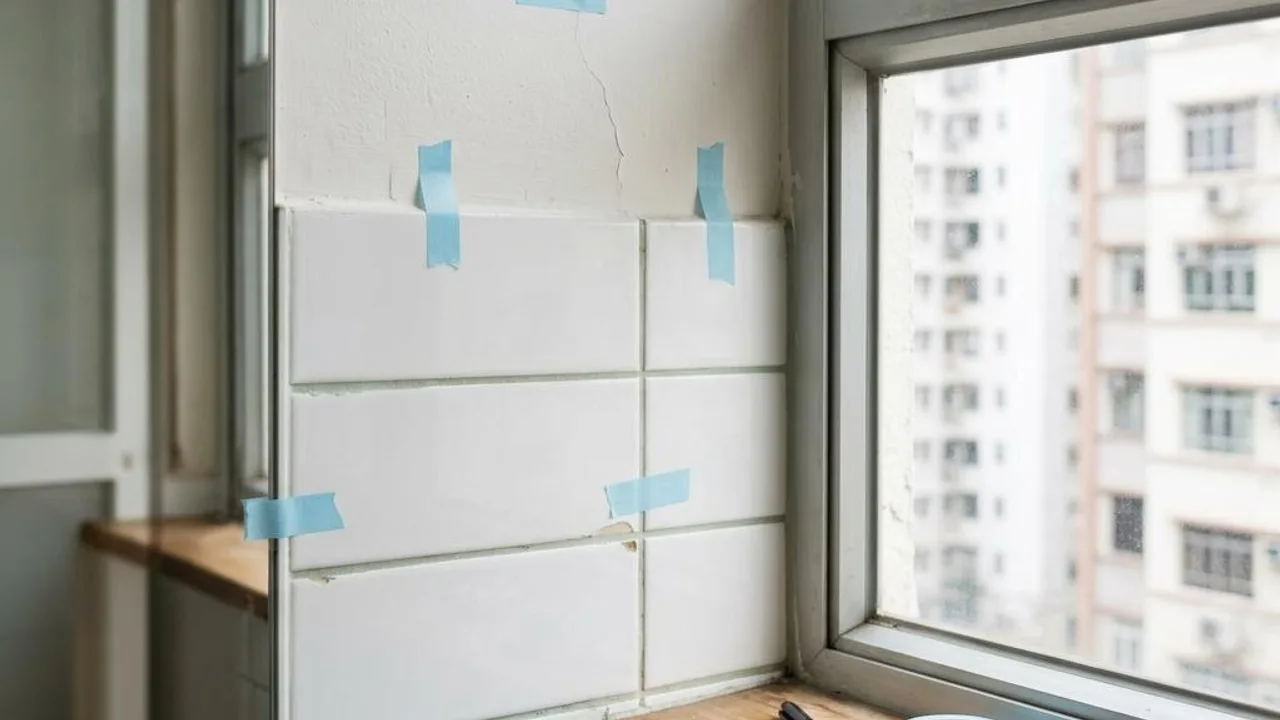
Masking tape is an effective tool for on-site recording. When wall crumbling, uneven paint, or loose hardware are discovered, placing tape near the defect can provide clear visual guidance.
Masking tape material is relatively gentle and does not easily damage the wall paint when removed. Owners can use a ballpoint pen to write simple numbers on the tape for easy reference to the list items later.
- Accurately mark paint defects and wall bumps
- Mark loose hardware accessories and door/window frame positions
- Use tape to assist in location marking rather than drawing directly on the wall
- Write short explanations to improve the efficiency of follow-up communication
Coordinating image recording with lists
Simple marking is often insufficient to explain the details of the problem. Owners should coordinate with mobile phone photography, and a two-stage recording method using long-range shots for positioning and close-up shots for details is recommended to determine the exact location of the problem.
Creating a photo-text index in a notebook and matching photo numbers with property inspection list serial numbers can not only be organized into a clear report but also serve as important evidence to report the situation to the contractor.
- Take wide-angle photos to mark the problem space
- Take close-up shots to record the details of the defect
- Link the on-site serial number with the list entry
- Keep photos as archives for communication with the developer
Key points for recording dynamic tests
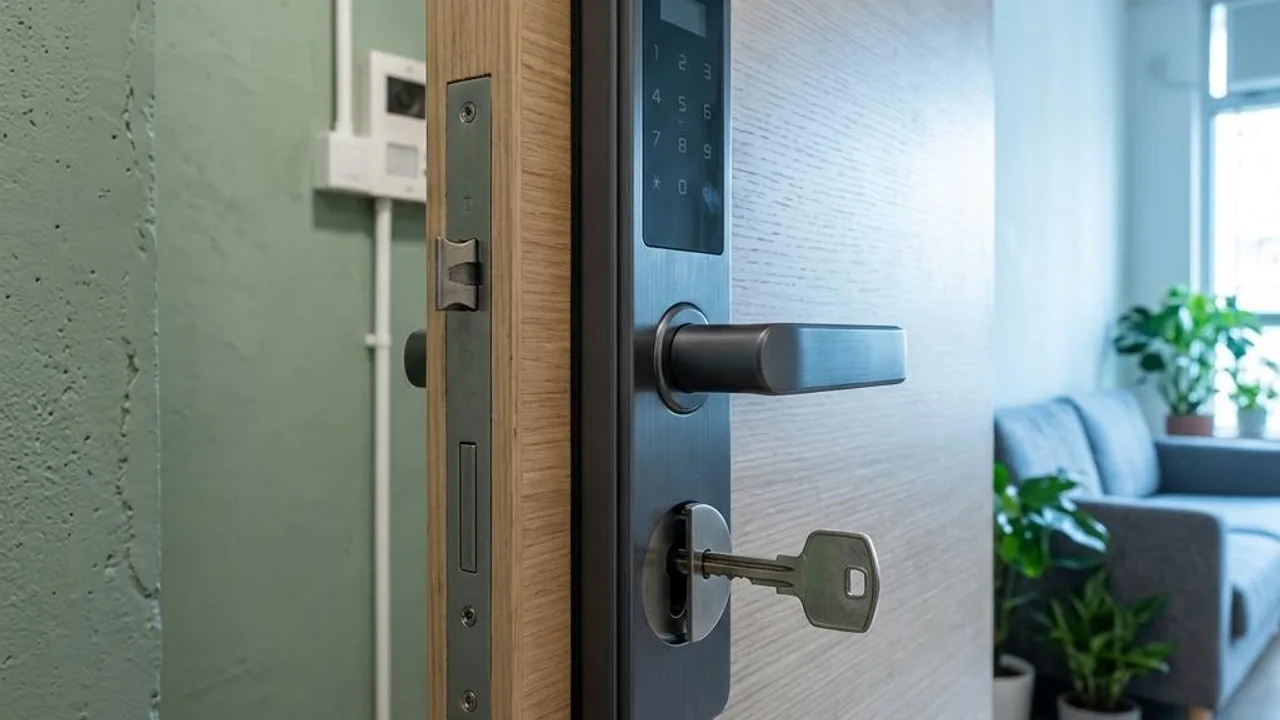
Beyond visual observation, it is also necessary to test the performance of doors, windows, and drainage. When pushing or pulling aluminum windows and the main door, pay attention to whether there is any abnormal resistance or looseness. Turn on the taps to observe the drainage speed and check whether there are signs of leakage at the pipe joints.
Owners can use the video recording function to record the opening and closing actions and drainage situations. When problems cannot be solved immediately on-site, these objective audio-visual pieces of evidence can provide a more intuitive reference for subsequent defect rectification.
- Test the flexibility of aluminum window and main door locks
- Observe whether there is minor seepage at the pipe joints
- Record the drainage efficiency and the sound performance of opening and closing
- Pay attention to the airtightness of doors and windows and the smoothness of the hardware
Blind spots and limitations of self-inspection
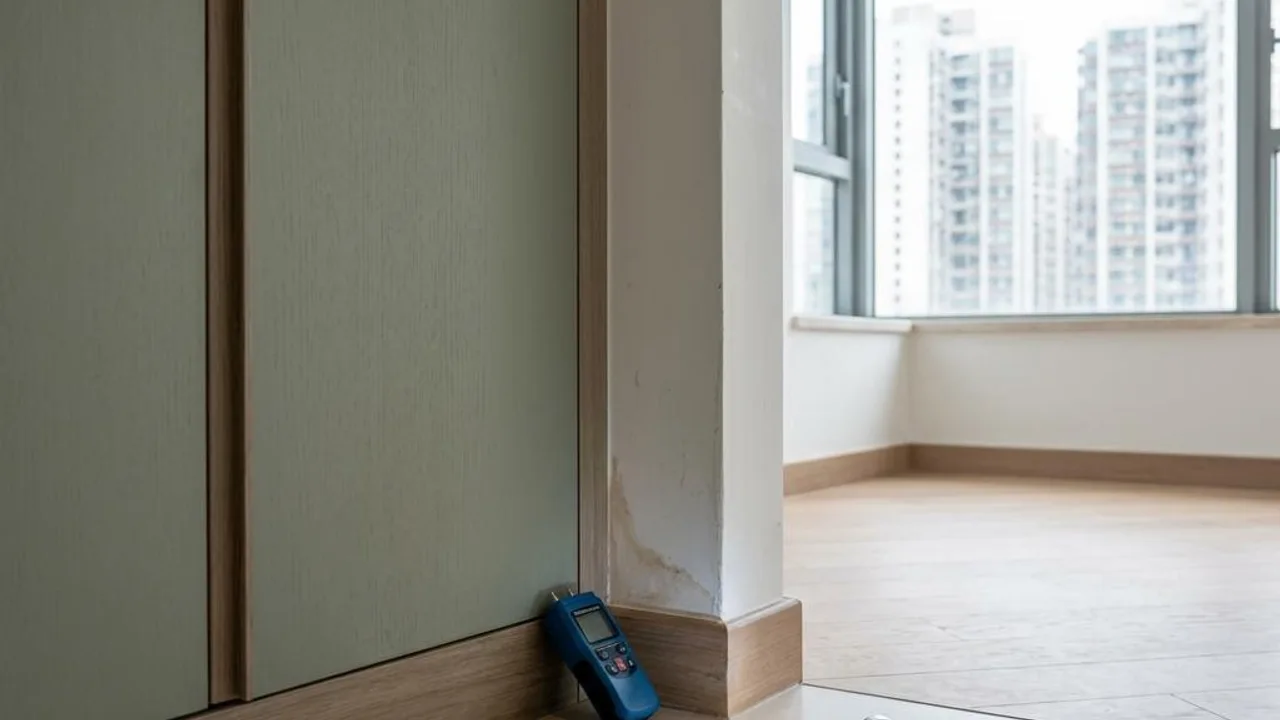
Although owners can perform initial surface observations, they must be aware of the limitations of visual property inspection. Things like concealed pipes, the completeness of waterproofing layers, and the airtight performance of the structure are not accessible through daily observation.
Without professional testing equipment, self-inspection for hidden hazards such as electrical system load, internal wall plaster hollows, or high-altitude leakage is difficult to judge accurately and requires professional assessment.
- This property inspection record is limited to the indoor conditions visible to the naked eye at the time of inspection and cannot verify the safety performance of structural, electrical, or gas systems. It also cannot assess the integrity of concealed works, the thickness of waterproofing layers, remaining service life, or repair effectiveness. Thermal imaging cameras only show surface temperature differences and do not necessarily mean there is leakage or a hidden structural problem at that location; please do not regard them as absolute tools for confirming hidden defects. In addition, the Mandatory Window Inspection Scheme is an independent statutory procedure that must be carried out by qualified persons registered with the Buildings Department and does not fall under the scope of general property inspection. Owners must not dismantle electrical devices, adjust water pressure valves, or climb external walls on their own; it is recommended to consult qualified professionals for related professional matters. All records are for reference only and do not constitute any safety guarantee or proof of compliance with regulations.
- Unable to measure wall hollowness and internal plastering quality
- Electrical load safety requires professional tools for testing
- Structural airtightness of external walls and glass windows is difficult to confirm
FAQs
When wall cracks are discovered during a property inspection, how should the owner record and handle them?
Owners should first mark the crack with masking tape, take long-range and close-up photos to record its location and size, and then include the crack serial number in the list. During the process, do not attempt to chisel open and repair it yourself; instead, organize the data and request an inspection and assessment from the developer.
What are the safety and correct operation standards for self-inspecting pipe leakage?
Owners can turn on the tap and observe whether there are water droplets accumulating at the joints on the floor. When operating, avoid using excessive force to turn switches or shake pipes. If abnormal leakage is observed, stop the test immediately and record a video; do not dismantle parts yourself.
If the developer questions the defects marked by the owner, how should one respond?
Owners should provide clear image recordings as evidence. It is recommended to show long-range photos to confirm the defect is within the unit and explain the problem by comparing it with the list serial number. If the dispute continues, you can consult professionals to assess whether the defect meets general industry construction standards.