Why is shower enclosure inspection crucial?
Bathroom environments are long-term damp; as the main water-blocking and drainage facility, the quality of the shower enclosure directly relates to the leak-prevention effectiveness of the entire bathroom. If the shower enclosure is installed or sealed improperly, it is very easy to cause water seepage at the wall base, leading to failure of the waterproofing layer and long-term repair headaches.
Inspecting the shower enclosure is not only for ensuring aesthetics but also for safeguarding the bathroom's protective function. Professional inspection can identify surface flaws and structural defects, avoiding issues like water leaks or slow drainage after handover, thereby ensuring the homeowner's living quality after moving in.
- Preventing the risk of water seepage at wall bases and floors
- Ensuring drainage efficiency meets daily needs
- Checking the completeness of waterproof sealing strips
Shower enclosure surface structure and edge inspection
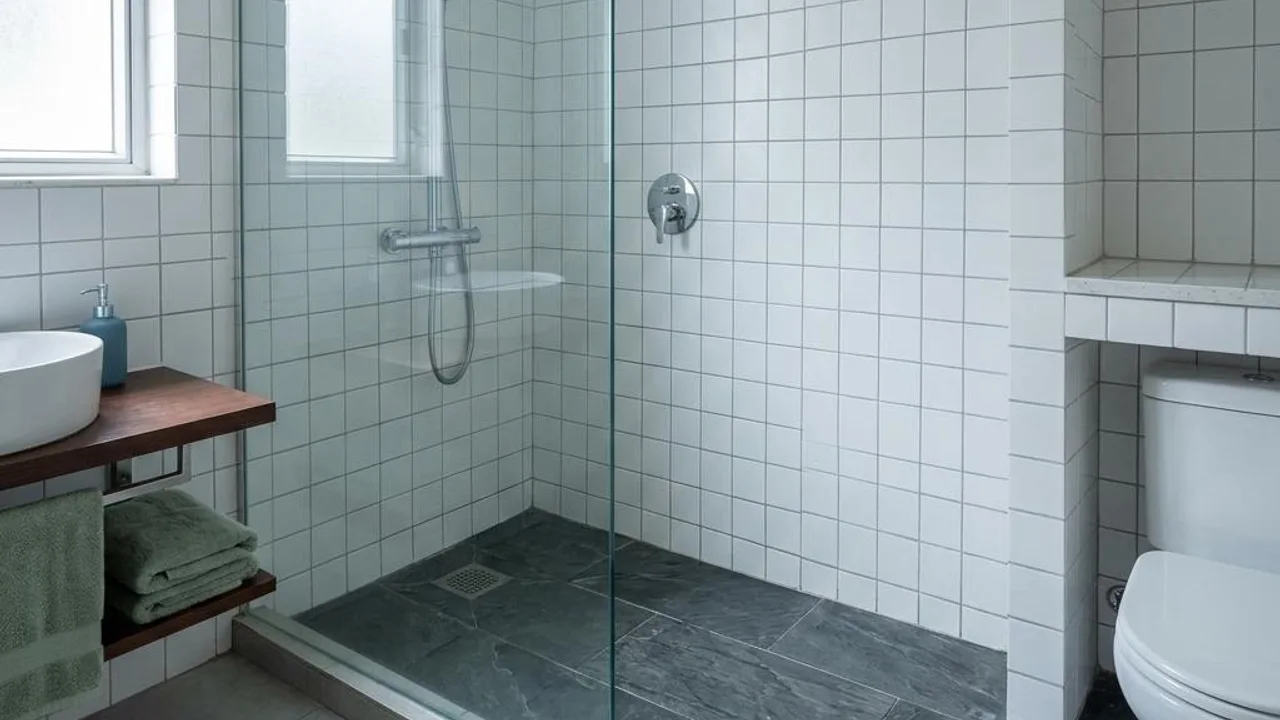
Appearance inspection should primarily focus on ensuring the surface is free of damage, scratches, or colour differences, and the inspection focus should be placed on whether the finish at the shower enclosure edges is neat. Homeowners can observe whether the sealant at the edges is evenly sealed, confirming there are no obvious gaps or openings.
Observe whether the installation of the shower enclosure base is steady, and observe for any swaying or instability under slight pressure. Any unstable installation may lead to stress concentration during use, increasing the risk of the rubber edges cracking in the long run.
- Check the structural integrity of the shower enclosure surface
- Confirm whether the edge finish is neat and even
- Assess whether the base installation is steady and without swaying
Functional testing: Drainage and water controls
Functional testing includes checking if the tap water output is unobstructed and focusing on the drainage speed of the drain hole. Observe whether the water flows smoothly during drainage; if water stagnation occurs, it may involve drainage pipe blockages or slope design issues, which need to be recorded in a timely manner and reported to the relevant contractor.
Check whether there is any seepage at the tap connection points around the bathtub or shower enclosure. This is usually related to installation workmanship or valve failure; if any signs of persistent dripping are found, they should be immediately marked and a professional repairer requested to check the tightness of the valves.
- Test the functional status of the taps and shower head
- Assess whether drainage speed is unobstructed
- Troubleshoot whether there is a phenomenon of slow seepage at connection points
Common problem identification and recording
Common shower enclosure problems include cracks, water leaks, and poor drainage. Surface cracks are often caused by impacts during transport or handling; minor ones affect aesthetics, but deep cracks may lead to hidden seepage, so it is recommended to comprehensively inspect all edges.
If installed improperly, the shower enclosure may feel "unstable". If any signs of seepage are discovered, you should immediately stop using it and make detailed records, and invite qualified personnel to investigate the specific cause; do not disassemble or perform destructive inspections yourself.
- Identify fine cracks at the shower enclosure edges
- Check for the phenomenon of slow seepage at connection points
- Identify swaying caused by unstable installation
- Troubleshoot the causes of drainage system blockages
Conclusion: Establishing good inspection habits
The inspection of the bathroom shower enclosure is the core of anti-seepage work. By carefully checking appearance, function, and installation details, hidden concerns of future home water leaks can be effectively excluded.
Good handover habits are an important investment in safeguarding long-term living comfort. Through systematic inspection before moving in, construction flaws can be discovered in advance, reducing the time cost and expenses of future self-repair.
- Detailed inspection can reduce future repair expenses
- Ensure the integrity of the waterproofing layer
- Professional inspection ensures stable and reliable installation
FAQs
How should cracks at the edge of a shower tray be handled?
If cracks are found, first mark the location and take photos as evidence; do not attempt to fill them with any materials yourself. You should request the developer or contractor to assess the depth of the cracks, confirm whether they involve structural damage or merely surface blemishes, and arrange for professional repair.
Does slow drainage always indicate a pipe blockage?
Not necessarily. Slow drainage may be caused by pipe blockages, insufficient slope in the shower tray installation, or issues with the P-trap design. During property inspection, you should observe the water retention after drainage and report it to the relevant technical personnel so they can use professional measurement methods to confirm whether the slope meets standards.
Can I try to dismantle the shower tray to inspect the internal structure during property inspection?
No. Owners should not engage in any activities involving dismantling or modification. All internal structural inspections should be performed by qualified professionals to avoid damaging the waterproofing layer or causing accidental leaks, ensuring the property inspection process meets safety requirements.