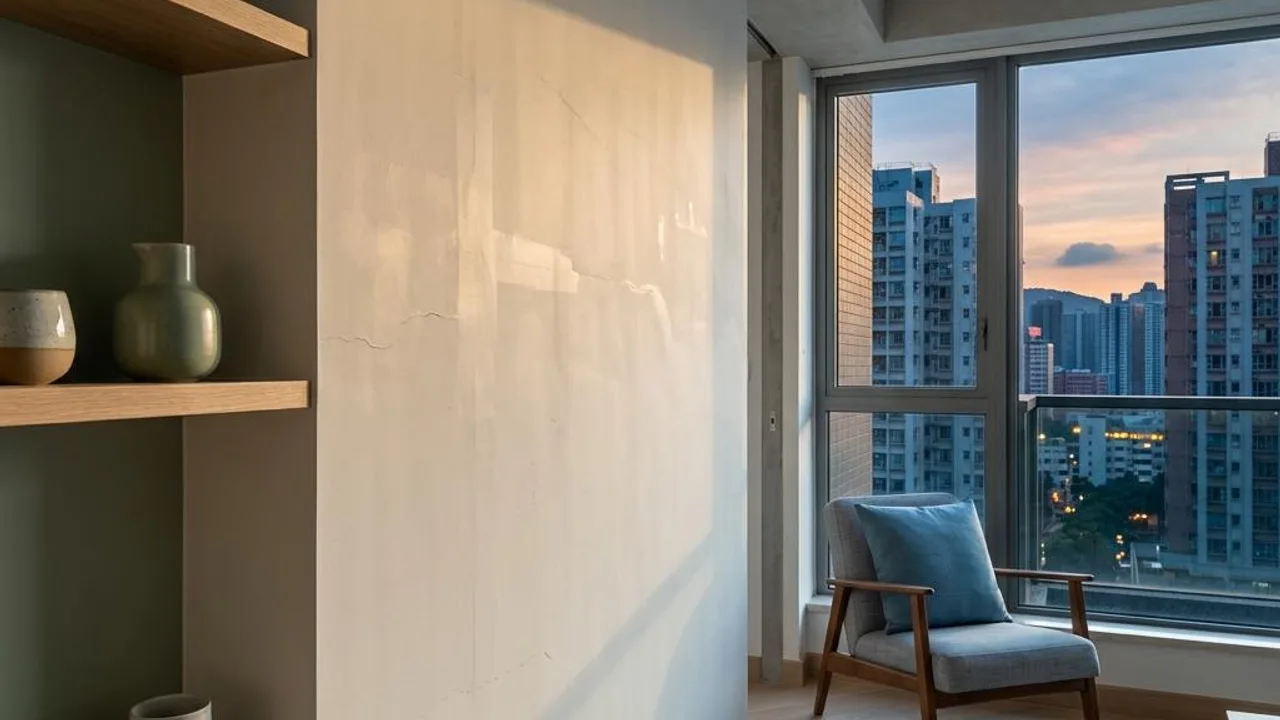
Visual differences between daylight and artificial lighting during inspection.
When conducting a property inspection, many owners prefer to choose daytime when there is plenty of natural light, believing that a bright environment makes it easiest to see wall defects. However, from an optical perspective, daylight is usually a large-area diffuse light. When light hits the wall evenly from the front or top, the subtle bumps and defects on the wall become blurred due to the even distribution of light and shadow; this visual uniformity easily creates the illusion that the wall is flat.
This is why many owners feel the walls are flawless and white during a daytime handover, but suddenly discover obvious wavy patterns or unevenness at dusk or after turning on interior spotlights. Because checking wall flatness relies heavily on the contrast of shadows, the angle of the light determines whether you can capture the plastering construction details beneath the paint; relying solely on daytime natural light is clearly not comprehensive.
- Daylight diffuse light is suitable for checking the consistency of paint finish colour.
- Even, strong light can easily mask subtle undulations in plastering.
- Changing the angle of light is the key to discovering wall defects.
Side lighting: The golden perspective for capturing wall defects.
When dusk's slanted sunlight or a high-powered light source illuminates the wall parallel to it at a very small angle, architectural optics calls this side lighting. Under such lighting, even if there is only a one-millimetre height difference on the wall, the blocked light will create a clear shadow area, causing subtle plaster joints, pinholes, wavy patterns, or even slight hollow spots and micro-cracks to appear immediately, making defects inescapable under the outlining light and shadow.
Using side lighting for inspection is not only a core technique of inspectors but also an important means of ensuring walls meet building acceptance standards. Using side lighting to scan at night is often more effective at finding rough workmanship than in daylight. Owners should be conscious of this during inspection, directing the light beam at the edges of the wall to actively create this light-dark contrast, thereby improving the precision and quality control of the inspection.
- Side lighting can significantly magnify geometric deformations on the wall surface.
- Shadow contrast is the key to identifying uneven plastering.
- Dusk's slanted sunlight provides a natural side-lighting environment.
Practical side-lighting inspection methods used by professional inspectors.
If you cannot conduct a property inspection at dusk, you can create a side-lighting environment at home through artificial means. First, prepare a high-lumen, high-intensity torch and switch off large ceiling lights in the room. If it is during the day, close the curtains to block most of the ambient diffuse light to ensure the inspection environment is dim enough. This artificially created low-ambient-light mode allows the torch's beam effect to be maximised.
During operation, hold the torch as close to the wall as possible so that the beam is almost parallel to the wall, and move it slowly across the wall in a horizontal or vertical scanning motion. If you notice abnormal stripe undulations in the light and shadow, it is highly likely that the plastering work has not reached a level standard or that there is an internal indentation in the wall; mark the location with chalk immediately as concrete data for future defect rectification requests, ensuring every corner is strictly inspected.
- Use a high-intensity torch as an auxiliary side-lighting tool.
- Close curtains to reduce interfering light sources.
- Keep the light source close to the wall to ensure the beam is parallel.
The correct procedure for observing wall defects.
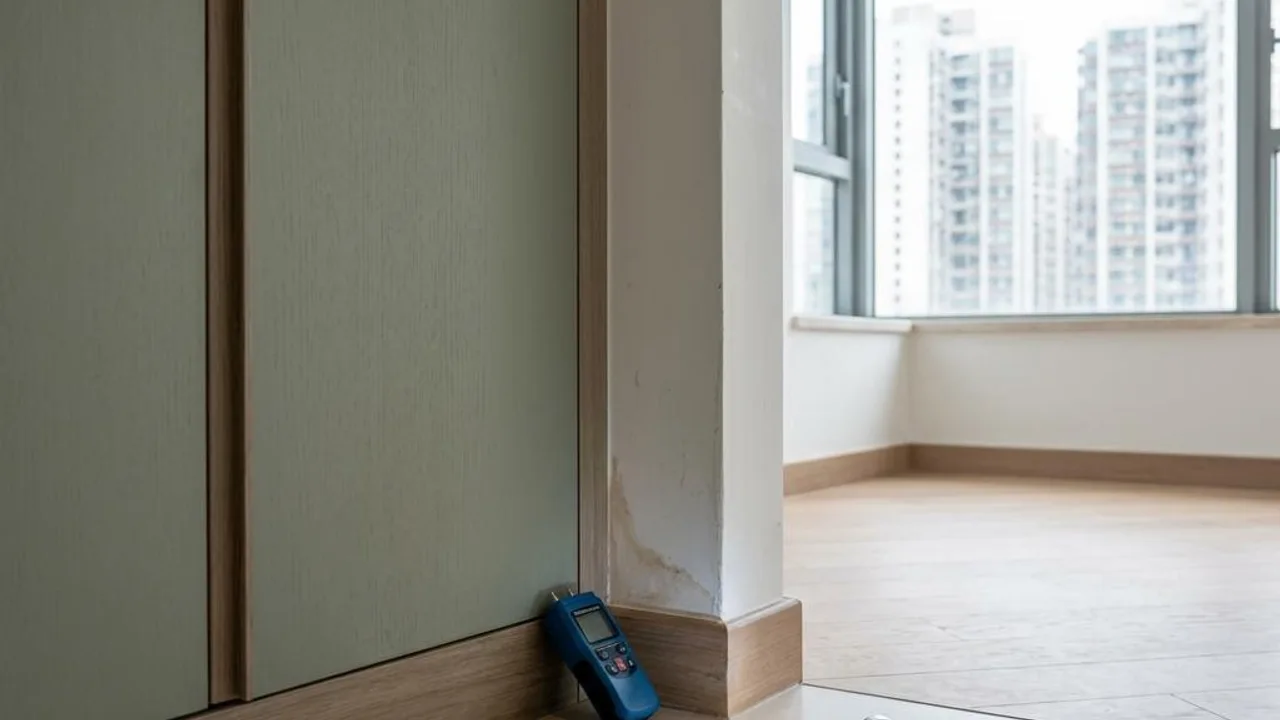
When performing a wall inspection, owners should first observe the integrity of the wall to confirm whether there are obvious cracks or peeling plaster. Please record all issues found, especially areas that show long strip shadows under side lighting; such shadows usually reflect deviations in wall flatness. The inspection is limited to visible areas and cannot guarantee the wall structure is completely free of defects or hidden problems; it is recommended to consult a professional for serious flatness issues.
If there are concerns about the structural safety of the wall, such as discovering large-area hollows or unusually deep and long cracks, owners should record these locations in detail and take photos to seek further inspection advice from professionals, rather than handling it themselves.
- First, check the overall visual effect of the wall surface.
- Use the side lighting method to scan for wall details.
- Mark positions of obvious dents and unevenness.
Common issues and recording during wall inspection.
Inspecting a wall is not simply for the sake of perfection but to confirm the basic compliance of construction quality. Through systematic side-lighting scanning, owners can more objectively understand the condition of the unit and record the discovered issues by category.
Records should include the type of defect, specific location, and scope of impact. This objective information not only helps in communicating with relevant parties but also provides specific guidance for future repair works, ensuring that repair efforts are targeted.
- Categorise records of uneven plastering and surface defects.
- Keep original location markers for convenient follow-up.
- Record the specific length or area of problematic regions.
FAQs
Why is it harder to find wall plastering issues when the daylight is bright?
Daylight is mostly diffuse light, which makes the distribution of light and shadow on the wall even, thereby masking subtle plastering undulations. If the flatness of the wall is insufficient, an environment lacking contrast makes defects difficult to identify.
If obvious wavy patterns are found on the wall during inspection, how should it be handled?
Owners should first use chalk or easy-to-remove tape to mark the defect locations, take photos for evidence, and record the details. If the wavy patterns are severe, ask a qualified person to assess the extent and cause, and demand action based on the records.
When using a torch for side-lighting inspection, what angle between the light beam and the wall is most appropriate?
Ideal side lighting should be as parallel to the wall as possible. The smaller the angle, the longer the projected shadow, and the more obvious the subtle undulations on the wall will be under the shadow contrast, making it easier to capture construction defects.