The key role of property inspection photos in disputes over defect rectification.
When taking possession of a property, taking photos to record defects is the core step for owners to strive for defect rectification. However, many owners shoot too casually, causing the photos to lack spatial guidance or references, making them difficult to hold binding power when negotiating in writing with developers later. Developer management teams often request additional information because the photos cannot identify the location, thereby delaying the progress of defect rectification.
Establishing a scientific record habit is the key to resolving disputes. Through reasonable shooting logic and clear text descriptions, owners can build an objective list with high persuasive power. This not only improves communication efficiency but also ensures that every detail can be accurately recorded and followed up by the contractor.
- Correct shooting logic reduces location disputes during negotiations.
- Photos paired with objective text improve the efficiency of written communication.
- Accurate reference objects for scale help in judging the scale of defects.
- Good file records serve as the basis for striving for future defect rectification.
The progressive principle of long-distance orientation and detailed close-ups.
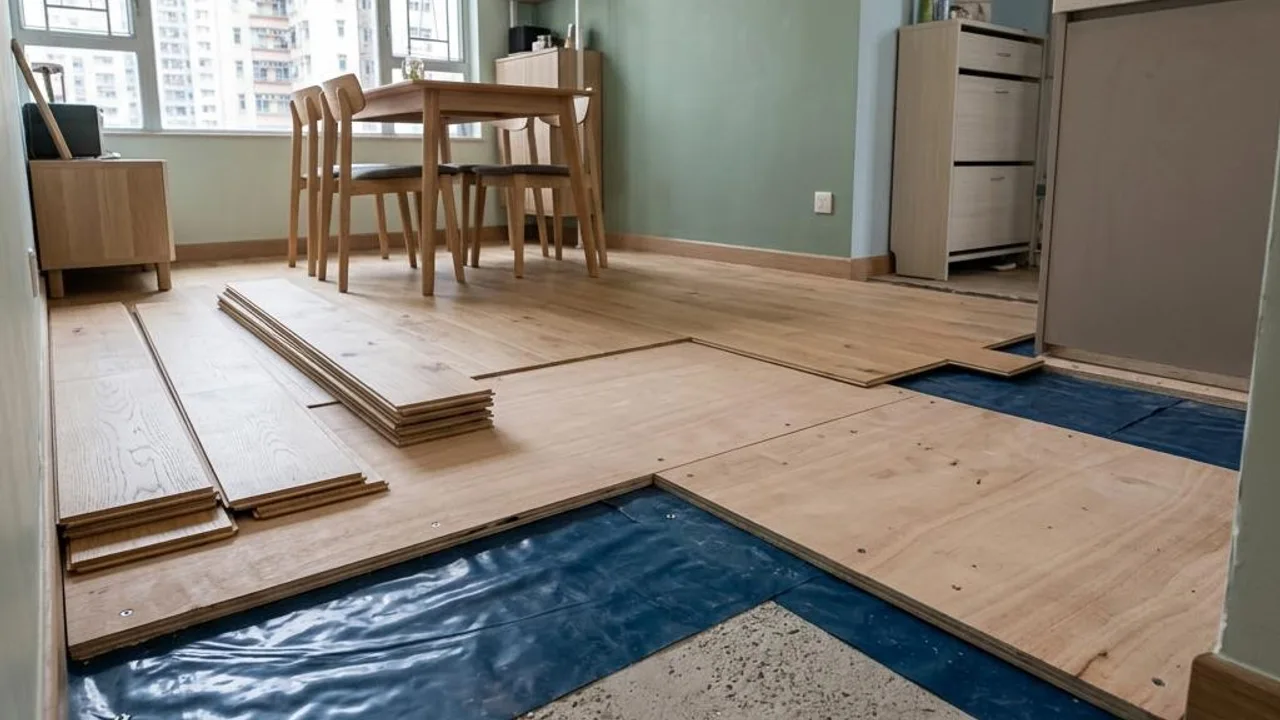
When taking property inspection photos, blindly magnifying close-ups often loses spatial significance. Based solely on a blurry close-up of a chip, it is difficult for a developer's representative to accurately locate it within a large unit. The industry suggests adopting a progressive logic of 'long-distance positioning, mid-distance narrative, and close-up detail', which allows photos to possess spatial reference coordinates and clearly point out where the issue lies.
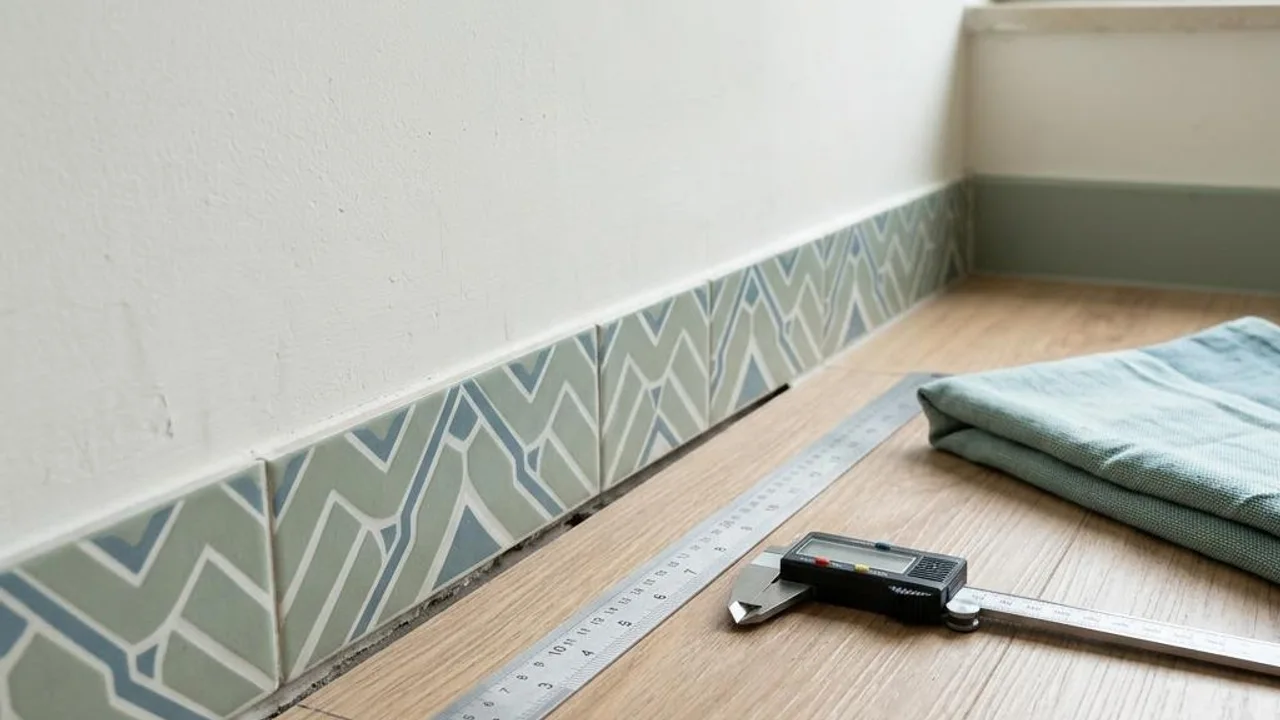
When shooting, you can first take a long-distance photo that clearly shows the corner or the full view of the room, and then proceed to record the details. If necessary, you can also use your fingertip or masking tape as a reference for size; this can intuitively show the actual size of cracks or chips, avoiding disputes caused by differing definitions of defects later on.
- Adopt a three-tier progressive photography approach (from panoramic to detailed).
- Use reference objects (e.g., masking tape) to indicate the dimensions of defects.
- Clearly include fixed fixtures like window or door frames as positional references.
- Ensure photographs can be correlated to specific locations on the unit floor plan.
Techniques for light refraction and the visual presentation of defects.
Lighting has a significant impact on photographic records. When lighting is inadequate in new developments, the arbitrary use of mobile phone flashes often produces intense glare, masking uneven wall paint or minor surface pitting. From an optical perspective, strong reflected light erases surface contrast, causing defects to disappear from the photograph.
When photographing uneven plaster or tile hollows, use grazing light (shining a torch obliquely across the wall surface) to create clear shadow contrast, making surface undulations clearly visible in the image. Adjusting light angles is key to achieving effective objective records and preventing developers from questioning the existence of defects due to poor photography technique.
- Avoid using a flash directly when photographing walls to prevent glare.
- Utilise grazing light techniques to highlight uneven plaster or tile textures.
- Use natural diffused light to reduce the risk of exaggerated shadows.
- Adjust camera angles appropriately based on the lighting conditions on-site.
Comparison of time-stamping and objective text descriptions.
Simple photo files may still have their authenticity questioned. To enhance the validity of the files, it is recommended to enable the built-in time stamp function on your phone to ensure each photo includes the date and time of capture. When submitting defect rectification forms, avoid including excessive subjective emotions; descriptions should be objective and from a professional engineering perspective.
For example, change 'the wall is a mess' to 'there is a 10cm crack on the wall near the balcony in the living room, accompanied by localised hollow sound'. Correlating visual photographs with standardised text allows the developer’s technical team to address issues more quickly, significantly improving processing efficiency and reducing delays caused by poor communication style.
- Keep the time stamp function enabled in your mobile phone's camera settings.
- Organise photo metadata for future reference.
- Use objective, professional engineering terminology in text descriptions.
- Compile a list matching text descriptions with corresponding image numbers.
Weighing the time and professional costs of self-communication.
Negotiating with a developer's massive engineering team is a long-term battle. If poor personal photo records lead to the developer refusing to rectify plumbing, electrical, or structural issues on the grounds that they cannot be confirmed as existing prior to handover, the owner will have to spend extra time and money hiring their own workers, which is often not worth the cost.
Objectively weighing the time cost of handling issues yourself versus the efficiency of professional third-party intervention is crucial for rationally planning your rectification strategy. Professionals provide credible observation points, helping owners possess weighty evidence when engaging in equal technical dialogue with developers.
- Consider the time loss and mental burden of personal defect rectification.
- Self-assessing hidden works involves extremely high technical risk. General non-destructive property inspection records can only observe external conditions and cannot provide guarantees for structure, electricity, gas safety, compliance, concealed pipework, waterproofing layer thickness, remaining service life, or repair effectiveness. Thermal imaging only displays surface temperature differences and is not direct evidence of moisture leakage sources or hidden structures. Do not regard inspection tools as a guarantee for accurately finding hidden defects, and do not provide any engineering warranties or general numerical standards. Mandatory Window Inspection is an independent statutory procedure that must be performed by a Buildings Department registered inspector and is not included in routine inspections. Regarding professional safety matters, always suggest entrusting the assessment to relevant qualified professionals and never imply that a single inspection can confirm overall safety. Owners should not attempt circuit testing, dismantle fixed installations, adjust water pressure valves, or climb onto roofs and exterior walls themselves. Relevant records are for reference only; if professional structural or safety issues are involved, consult a licensed professional.
- Compare the communication benefits of amateur records versus professional inspection reports.
- Targeted handling of structural defects involving long-term value.
The role of professional personnel during the inspection process.
When facing complex structural cracks, hidden waterproofing leaks, or tile hollows that require professional data support, photographs alone are often insufficient to resolve disputes. In such cases, engaging a professional property inspection team is a wise solution. Professional teams are not only familiar with various construction standards but also possess precision inspection instruments to objectively determine problems.
If owners have questions about the test results, they can ask the professionals how to interpret the data and relevant acceptance standards; this allows owners to propose rectification requests with more confidence during subsequent follow-ups.
- Professional personnel possess the practical ability to handle complex disputes.
- Provide objective test data through precision instruments.
- Effectively reduce technical resistance when communicating with developers.
FAQs
How should an owner follow up if the developer refuses to acknowledge the defects in the photos?
Owners should demand the developer provide specific grounds for the refusal and re-examine whether the photos contain sufficient positional references. If suspected hidden defects are involved, questions can be raised formally in writing, and you may inquire whether the developer is willing to arrange a joint on-site inspection or consider seeking opinions from qualified professionals to obtain deeper observation data. Such advice does not represent a promise to confirm the status of hidden works or legal compliance.
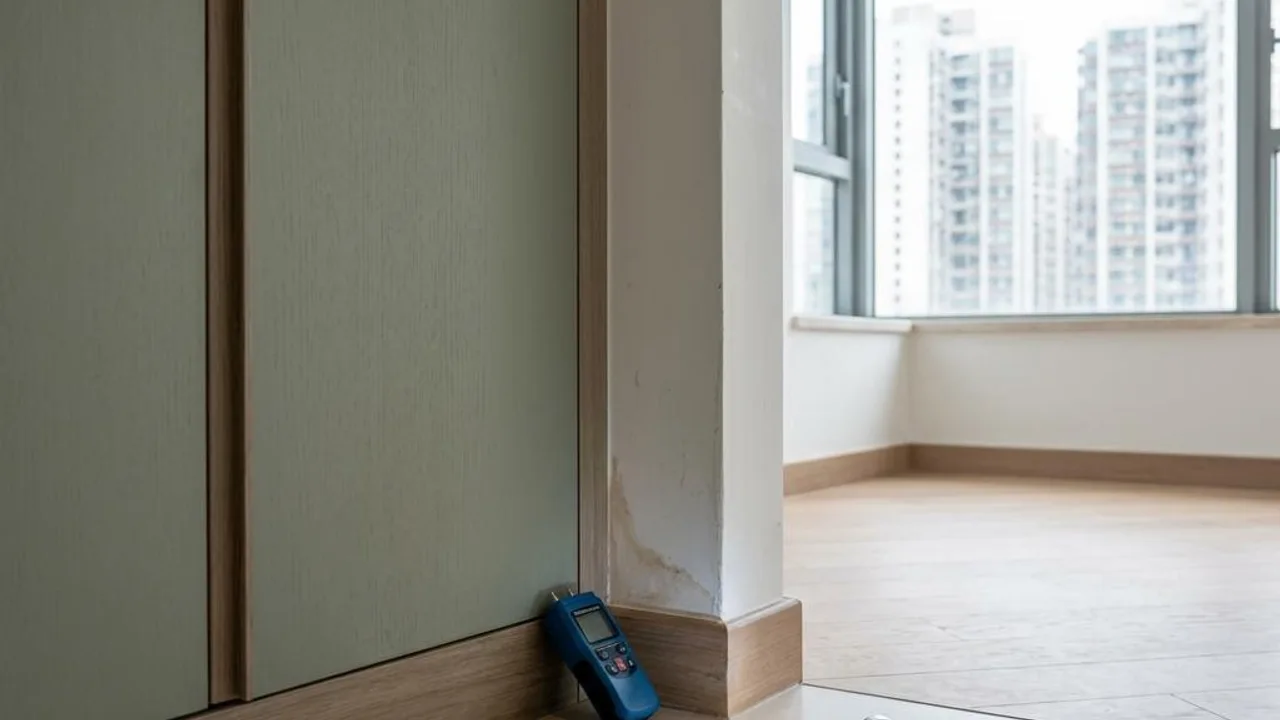
What action should an owner take if suspected leakage signs are discovered during photography?
Owners should immediately record the surrounding environment of the leakage point, take panoramic positioning shots and close-up details, and monitor for any spread of water stains or colour changes. Do not attempt to dismantle the finishing layer for inspection yourself; instead, organise the observation records and notify the developer as soon as possible, requesting they send professional personnel to investigate.
Is it absolutely necessary for property inspection photos taken with a mobile phone to be edited to be valid?
No. Excessive editing or the use of filters can affect the objectivity of the photos and may even cause disputes. Ideal inspection photos should be taken under natural light, retaining original files and time stamps, only adjusting shooting angles or using auxiliary light to reveal defects in cases of high contrast or poor light.