Why is professional floor tile inspection necessary
As a core decoration material for indoor living spaces, the quality of floor tiles directly affects the daily comfort and long-term usage experience of the residence. Whether it is natural stone, ceramic tiles or wooden flooring, the quality of construction craftsmanship will be directly reflected in the surface flatness, joint treatment and colour uniformity.
Common floor tile defects include hollowness, cracking, obvious colour differences or uneven installation. These issues not only affect aesthetics but, in some cases, may cause tripping hazards or potential structural hazards during long-term use. Therefore, conducting a detailed inspection process is an important procedure to safeguard the rights and interests of owners.
- Floor tile hollowness inspection can detect the problem of insufficient bottom cement mortar early
- Flatness assessment ensures walking safety and avoids tripping hazards
- Joint inspection prevents dirt accumulation and grout shedding
Key inspection procedures for floor tiles
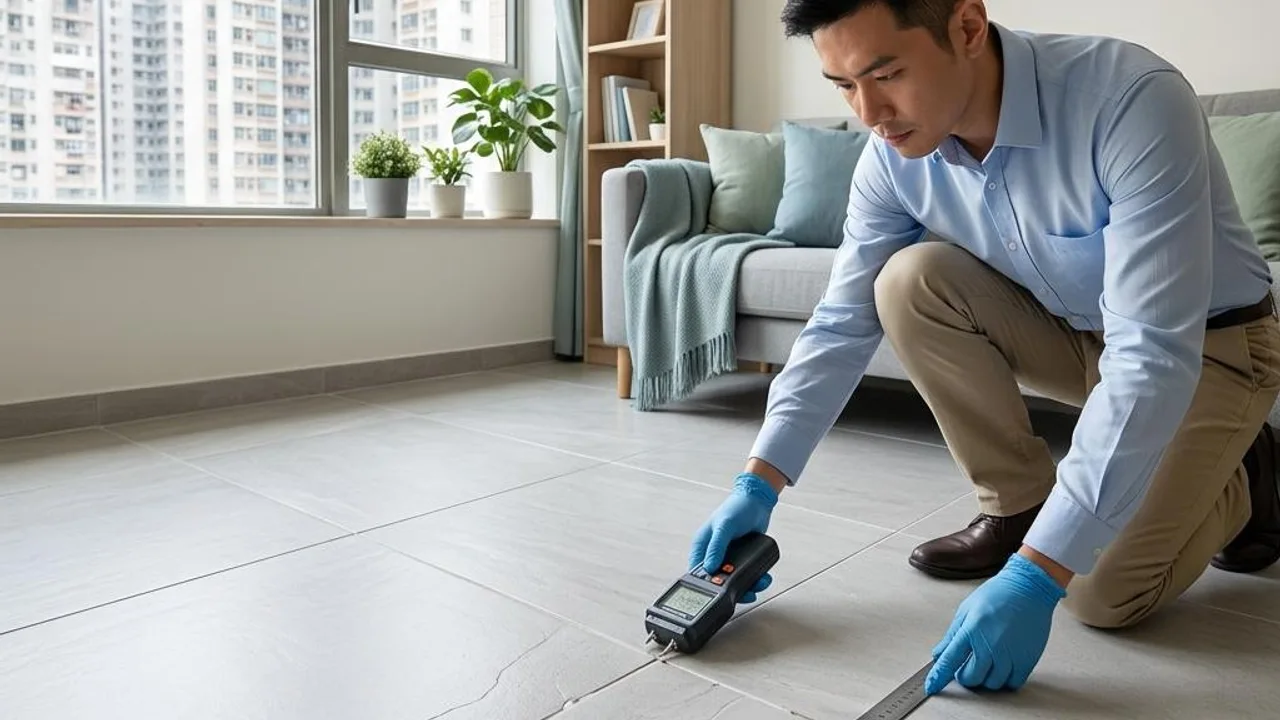
When carrying out floor tile inspection, it is recommended to use a professional spirit level to measure floor flatness to ensure that there is no excessive height difference between tiles, preventing discomfort when walking. Meanwhile, check the surface of each tile by visual inspection and gentle touch to confirm if there are minor cracks, pits or chipped edges.
The treatment of joints is also critical; ideal grouting should be uniform and straight. If the joints are uneven in width, or if there is missing or overly overflowing grout, all must be included in the checklist. For large areas of paved floor tiles, it is also necessary to check whether the overall tone is consistent to avoid unreasonable colour combinations.
- Confirm that there is no chipping or processing damage at the edges of the floor tiles
- Use professional tools to detect the horizontal and vertical level of the paving
- Check for consistency in grout width and material filling density
- Compare with design patterns to confirm colour consistency
Hollowness and repair recommendations
Floor tile hollowness refers to the situation where air exists between the back of the floor tile and the bottom levelling layer, or it is not firmly bonded, which usually needs to be judged by tapping. If the tapping sound is hollow, it means the area is not fully bonded, and it may arch or burst later when the tiles are under pressure or due to temperature differences.
During the inspection process, if floor tile hollowness is found, the relevant locations should be marked and recorded. Please note that this is not just a simple visual flaw; if the issue seriously affects usage or poses safety risks, owners should require the contractor to perform repairs or re-paving according to relevant standards.
- Use the tapping method to check if the sound at the centre and four corners of the tile is solid
- It is recommended to require the contractor to repair areas with severe hollowness
- Pay attention to whether there is excessive suspension at the junction positions
Practical property inspection techniques and precautions
When inspecting floor tiles, it is recommended to choose a time with sufficient daylight, which makes colour differences, edge defects and surface pits easier to notice. In addition, bringing a measuring tape, notebook and labels can help record problem locations immediately during inspection and mark areas that need repair to facilitate follow-up.
If you are unsure whether a problem falls within the standard range, it is recommended to record the original state and take photos for preservation, then consult relevant professionals. For hidden works that cannot be easily judged by yourself, the experience of professional personnel can effectively assist in clarifying whether they comply with construction standards.
- Make good use of sufficient light sources to facilitate detailed visual inspection
- Prepare tools to record defects and mark them on-site
- Take photos and keep records of all abnormal states as evidence
- Consult professionals to analyse the severity of the defects
Common floor tile inspection challenges
Many owners feel confused when facing colour differences and texture changes. Natural stone itself has texture differences, which is different from the colour deviation in the production of man-made tiles. When inspecting, you should first understand the characteristics of the selected materials to confirm whether the colour difference belongs to the natural category of the material, or is because of a lack of proper layout planning during the construction process.
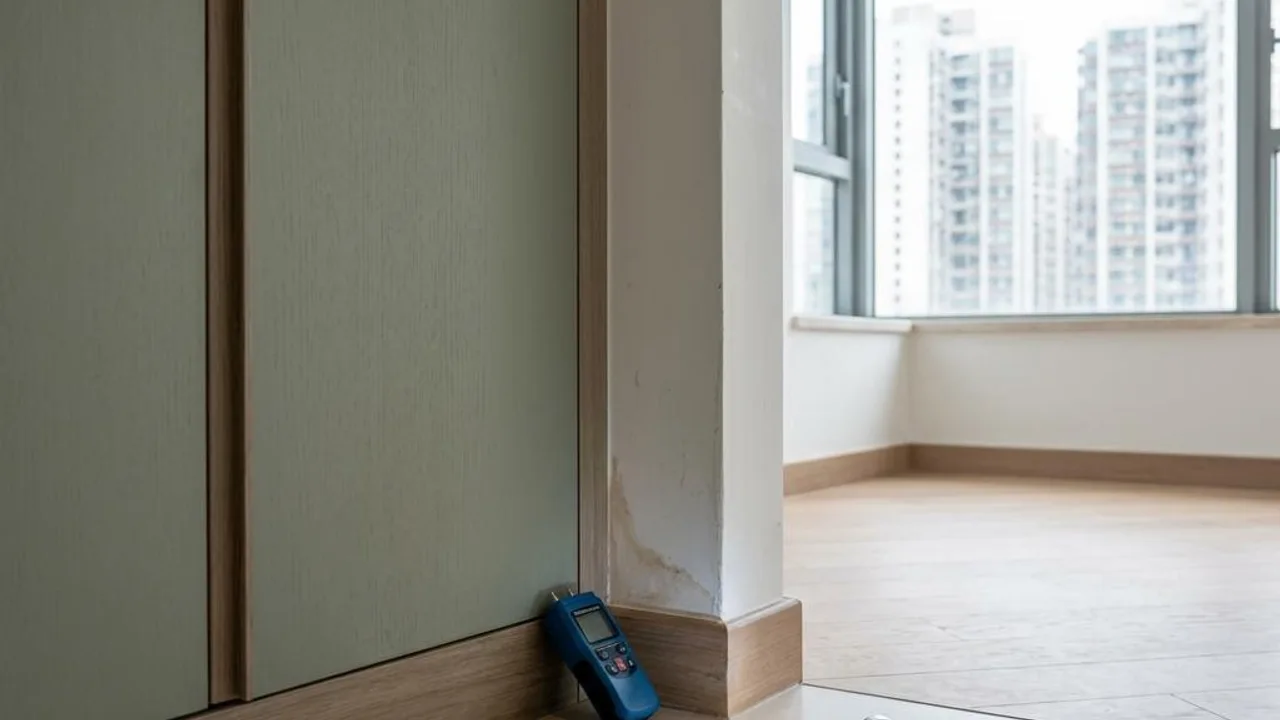
On the other hand, the closing position between the skirting and the floor tiles is also a commonly overlooked area. If the grout at the closing point is uneven or the sealing is poor, water can easily seep into the bottom of the floor during cleaning. When checking, pay attention to whether these junctions are completely sealed to avoid water accumulation causing mould or loosening.
- Confirm the difference between natural stone texture variations and colour differences
- Check the sealing status of the junction between the skirting and the floor
- Ensure there are no obvious gaps or cracks at the closing position
FAQs
If floor tile hollowness is found, is it mandatory to replace it immediately?
Hollowness does not necessarily mean that it must be replaced immediately. This depends on the size of the hollow area, its location and whether there is a feeling of loosening. If it is only a small area of hollowness with no risk of loosening, it can be assessed for observation; if it is in an area with frequent foot traffic or if cracks appear, it is recommended to require the project side to conduct professional grout injection repairs or re-paving to ensure long-term safety of use.
When inspecting floor tiles, does a slight colour difference count as a construction flaw?
Whether colour difference counts as a flaw depends on the material. It is normal for natural stone to have natural texture and colour variations. If it is man-made ceramic tile, then the batch colour of the product should be consistent. If the colour difference seriously affects the overall visual harmony or if there is a situation where different batches have been mixed, it is recommended to ask the contractor to clarify the construction standards.
How to judge if the quality of grout meets the standard?
Quality grout should be filled fully and flush with the tile edges. If inspection reveals that the grout is loose, chalky, mouldy or has uneven stripes, it may indicate improper construction craftsmanship or incorrect mixing ratios of materials. Owners can observe whether there are obvious gaps; if the waterproofing or anti-fouling performance is affected, the contractor should be required to carry out repairs.