Property inspection tools and preparation
Before starting a property inspection, preparing appropriate tools can improve detection efficiency. Owners should prepare masking tape and labels to mark the location of defects, making it easier to record and for repair workers to identify them. Besides taking photographic records, mobile phones can serve as auxiliary tools for testing power sockets, and it is recommended to carry a charger with you.
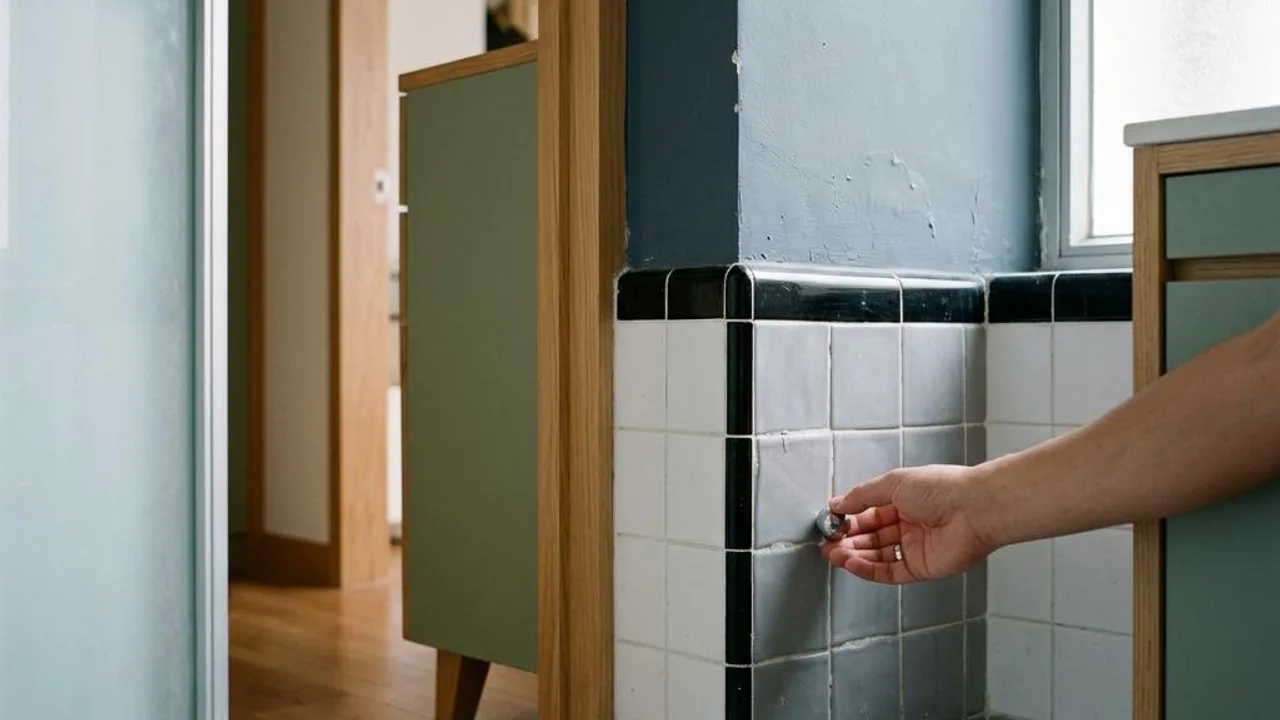
In addition to electronic equipment, simple manual tools are equally critical. Use a metal rod or coin to tap walls and floor tiles to check for hollow areas, prepare tissues to test for leakage at pipe connections, and bring a bucket to test drain outlets to confirm if drainage is smooth, laying a good foundation for subsequent decoration and move-in.
- Marking tools: Masking tape and sticky notes
- Circuit testing: Charger
- Tapping inspection: Metal rod or coin
- Leakage detection: Tissues
- Drainage testing: Bucket
Wall, floor, and main door inspection
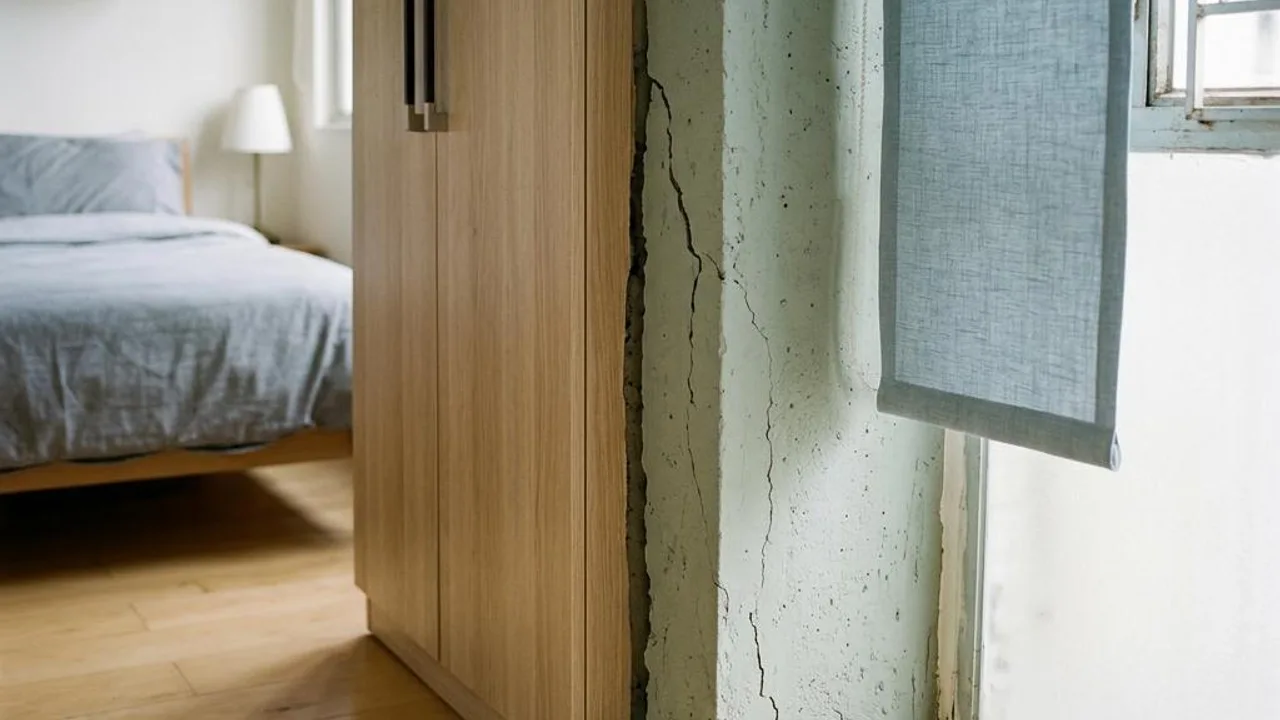
Walls and floors occupy the largest area indoors, so meticulous inspection is crucial. When checking paint, it is recommended to use side lighting to observe whether the surface is smooth and free of cracks or bubbles. Tap floor tiles at five points to identify hollow situations and avoid future tile bursting. For skirting boards, pay attention to the seal between them and the wall.
Regarding the main entrance and room doors, repeatedly test if the locks open and close smoothly, and ensure door hinges are free of strange noises and looseness. Check the surface of the door panels for scratches, observe whether the gaps between the frame are even after closing the door, and ensure the airtight sealing strips are intact to prevent degradation in sound or dust insulation performance.
- Wall side lighting for defect detection
- Five-point tapping test for hollow floor tiles
- Smoothness test for door locks and hinges
- Inspection of door frame gaps and rubber seal integrity
Window systems and glass safety
Windows are the first line of defence for exterior walls, so inspection must be comprehensive. Repeatedly test the window opening and closing to ensure it is smooth, and check that the latch locks securely. Inspect the glass surface for chips or cracks, especially with tempered glass, as even minor damage can compromise safety.
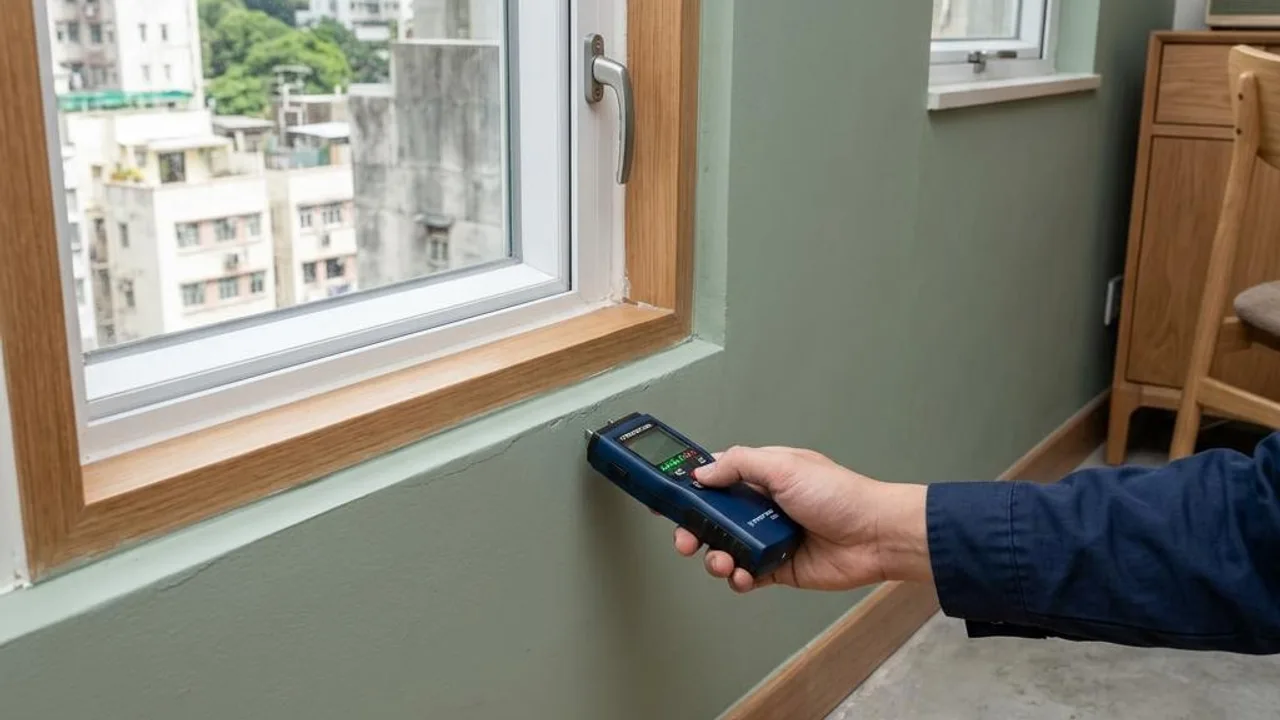
Observe whether the rubber seals around the windows show signs of ageing, cracking, or detachment. Carefully examine the walls around the window sill for water stains, mould, or peeling paint, as these are often warning signs of window leakage. Remind the owner that if a professional OPO Inspection surveyor needs to perform a high-pressure water jet test for leaks, it requires prior application and an additional fee.
- Smoothness of window operation and hinges
- Inspection for cracks and chips on glass surfaces
- Ageing of window anti-leakage rubber seals
- Water stains and mould signs on window sill walls
Kitchen and bathroom water and electrical inspection
The kitchen is a critical waterproof area. When inspecting the sink, fill it with water to test the overflow, and observe the drainage speed to ensure there are no abnormal gurgling sounds. Open the bottom of the kitchen cabinet, use a tissue to check pipe joints for any signs of leakage. Also, test the supplied cabinet runners and electrical appliance functionality.
Bathroom inspection focuses on the waterproof layer; check the toilet flushing power and the security of its installation, ensuring the base silicone seal is well-sealed. Shower cubicles or bathtubs require a water test to ensure smooth drainage; take note of whether the shower screen door edge and corner silicone are intact to prevent bathwater from leaking into the dry zone.
- Sink overflow and drainage test
- Leakage inspection for kitchen and bathroom pipe connections
- Toilet stability and silicone edge sealing
- Kitchen appliance and cabinet door functional test
Electrical installation and equipment inspection
Electrical safety should not be overlooked. Use a charger to test each power socket throughout the unit for electricity. Test all lighting and switches to ensure they correspond to the correct locations. If the unit is equipped with a smart home system, ensure you test the responsiveness of all features to avoid malfunctions after moving in.
For fixed appliances like ceiling lights or electric water heaters, installations that do not use a standard plug should be handled by a Registered Electrical Contractor. During daily observations, if you notice any scorching, strange odours, or deformation of plugs or electrical devices, cease use immediately and seek an inspection from a qualified professional.
- Power connectivity test for all electrical outlets
- Lighting and switch response test
- Smart home connectivity verification
- Check for strange odours or scorching on electrical appliances
Rectification records and professional assistance
After inspection, any defects must be photographed and filed, and clearly recorded with their location on the defect rectification list. Photos should include wide shots for orientation and close-ups showing the defect details. If there is a dispute, it is recommended to clarify the attribution of responsibility with the developer before formal move-in to ensure rectification work can proceed.
Although owners can perform a preliminary inspection, hidden issues such as structural hazards or subtle water seepage paths often require professional equipment like infrared thermal imaging cameras and moisture meters. Hiring a professional OPO Inspection service can provide more robust report data, saving owners the cost of coordinating on their own.
- Photographic record of defects with wide and close-up views
- Submit a detailed defect rectification list
- Clarify the attribution of third-party responsibility
- General non-destructive home inspections are limited to visual areas: they cannot certify structural, electrical, or gas safety, nor do they guarantee compliance, the condition of hidden pipes, the thickness of the waterproof layer, the remaining service life, or repair effectiveness. Infrared thermal imaging can only display surface temperature distribution and cannot be used directly as proof of the cause of leakage or hidden structures; do not imply that the instrument can ensure the discovery of all hidden defects. No guarantees are made, and no uniform tolerance values are provided. Mandatory window inspection is an independent legal procedure that must be conducted by a qualified person registered with the Buildings Department and does not fall within the standard scope of services of this website. Issues involving professional areas should be referred to relevant qualified professionals; do not claim to certify the safety of the entire property. Do not encourage owners to perform electrical testing, dismantle fixed installations, adjust water pressure valves, or climb to inspect roofs or exterior windows. Retain only necessary safety warnings and follow-up suggestions, replacing false absolute guarantees with objective observations and statements of limitation. The content does not include company names or promotional material.
FAQs
How should floor tile hollow sounds be handled if discovered?
It is recommended to clearly mark the hollow locations on the defect rectification list. Usually, check floor tiles at five points to listen for hollow sounds; if the area is too large or there is a feeling of looseness, request that maintenance personnel perform grouting repairs or tile replacement.
If water stains are found on the wall during a property inspection, does this mean there is a leak?
Signs such as water stains, mould, or peeling paint are usually warning signs of leakage. Owners can first record the location and take photos, and consult a qualified professional to further inspect the leakage path using an infrared thermal imaging camera or a moisture meter, avoiding jumping to conclusions.
Who should be contacted for assistance if the smart home system cannot connect?
First, confirm that the network settings and power supply are normal. If you confirm that the device itself is malfunctioning, record the defect and list it on the rectification list for follow-up repairs by the relevant system engineering personnel or a registered contractor.